Since 2016 i haven’t been able to spend the time required to develop this Blog site , however some if not most is till relevant. Requests and questions at present will be ignored so please always test in a lab environment first.
Copy to App data All users
I wanted to copy a config file which sits in the roaming app data of a user profile.I could do this with group policy but wanted to do this as part of the SCCM install .
Using PowerShell i was able to do this with the * parameter
$Source = “$PSScriptRoot\The folder that needs copying”
$Destination = ‘C:\users\*\AppData\Roaming\’
Get-ChildItem $Destination | ForEach-Object {Copy-Item -Path $Source -Destination $_ -Force -Recurse}
New-Item ‘HKLM:\System\SCCMApps\What ever you want to use for detection’ -Force | New-ItemProperty -Name Version1.0 -Value 1 -Force | Out-Null
I have also added a reg key for my detection method as the is more reliable than using the folder in app data

![]()
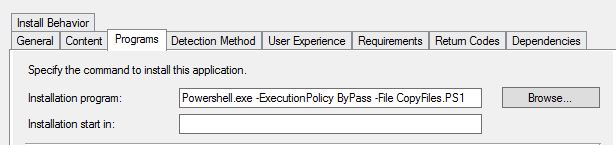
Run PowerShell with the Application model
If you want to deploy a PowerShell script via the application method you need to type in the following:
Powershell.exe -ExecutionPolicy ByPass -File
0x87D0070C(-2016409844) Windows Upgrade Failed
When upgrading some clients i came across the following error when using the Windows servicing function. The was mostly an issue with remote users.
ERROR CODE 0x87D0070C(-2016409844)
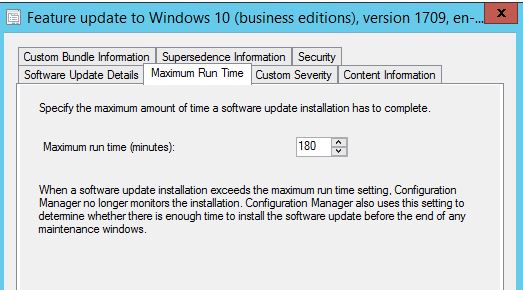
The error code basically means the upgrade timed out. This would not only apply to upgrade ( servicing ) but also updates.
This can be fixed by changing the maximum run time.
Software Library >Windows 10 Servicing >All Windows Updates and selecting the Feature update.
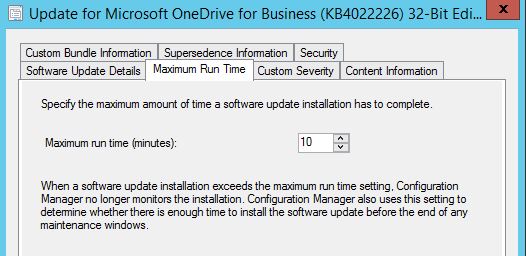
or of updates
Software Library > Software Updates > All Software Updates and select the update with the error.
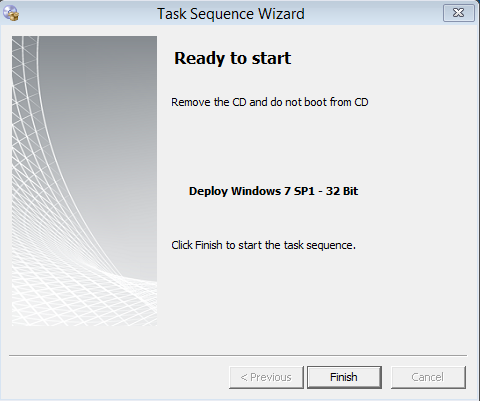
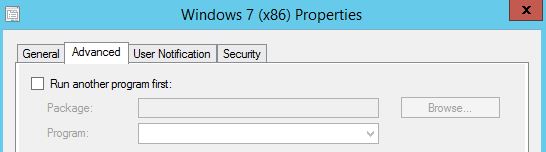
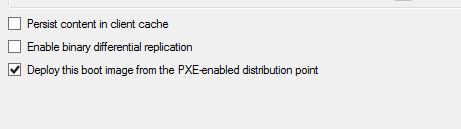
OSD TS shows Ready to Start
If you get a message similar to the this or the same during the start of a TS is will be because you have two boot images associated to a TS. Either on your pxe point or directly on the TS in the Advanced section.

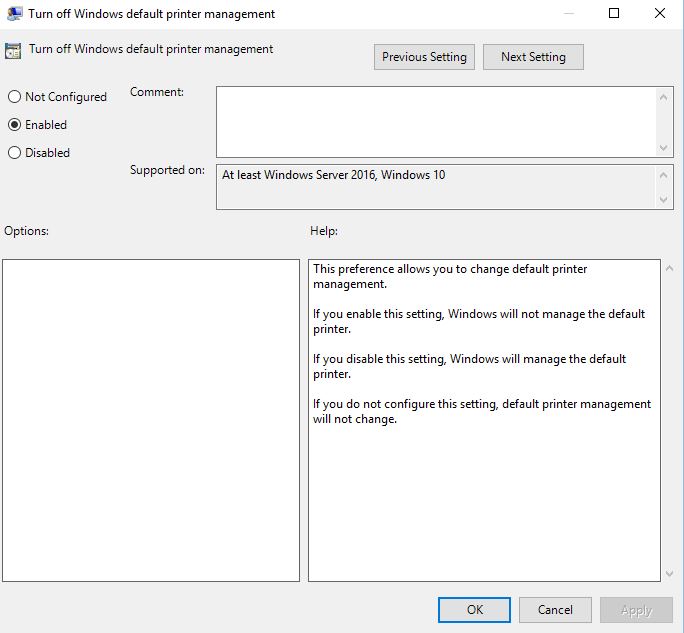
Turn off windows default printer
To turn off Windows default printer management via group policy first make sure you have installed the latest windows 10 ADMX/ADML files.

Next navigate to USER CONFIGURATION > POLICIES > ADMINISTRATIVE TEMPLATES > CONTROL PANEL>PRINTERS
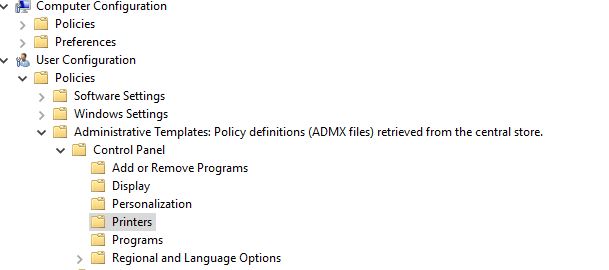
Select ENABLE
Add Wifi Profile During OSD
In order to add a wifi profiles during OSD there are a few options, one of which is to use an XML which is what i will be using.
First of all, we need to capture the currently wifi settings on a machine which is connect to the SSID we want to use, open command prompt as admin and type in the following

netsh wlan show profiles
You should then see the profile name
Next type in the following changing the relevant text
netsh wlan export profile name=”your wifi proile name ” folder=”c:\temp”
Now we have the xml file we need to copy it over to one of our sccm file shares and create a package without an application
Next go to the task sequence you wish to add the profile too
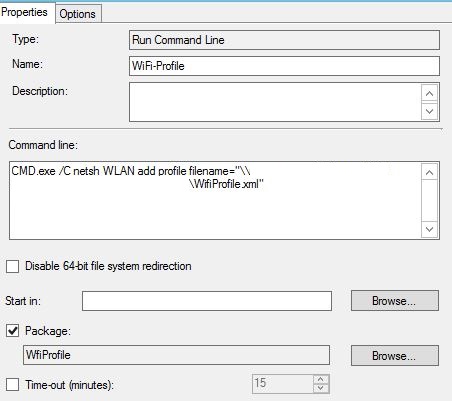
Add a run command line and select the wifi package you just created
In the command line type in the following
CMD.exe /C netsh WLAN add profile filename=\\the location of your xml file\name of the xml.xml
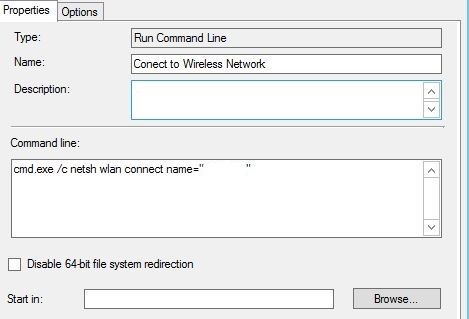
The final step which is optional is to connect the device to the wifi network during the OSD
Again add a run command line and name appropriately
Type in the following
cmd.exe /c netsh wlan connect name=”name of your wifi SSID”
Microsoft visual studio 2013 CU3
To deploy Microsoft visual studio 2013 CU3 we first need to extract the ISO and copy it over to a share
Next week can need to create a AdminDeployment.xml in the root of the folder, this can be done by running “vs_professional.exe /CreateAdminFile” . Within the file you can turn off or on features you want to install, you can find more information about this in the link below
https://msdn.microsoft.com/en-us/library/ee225237.aspx?f=255&MSPPError=-2147217396
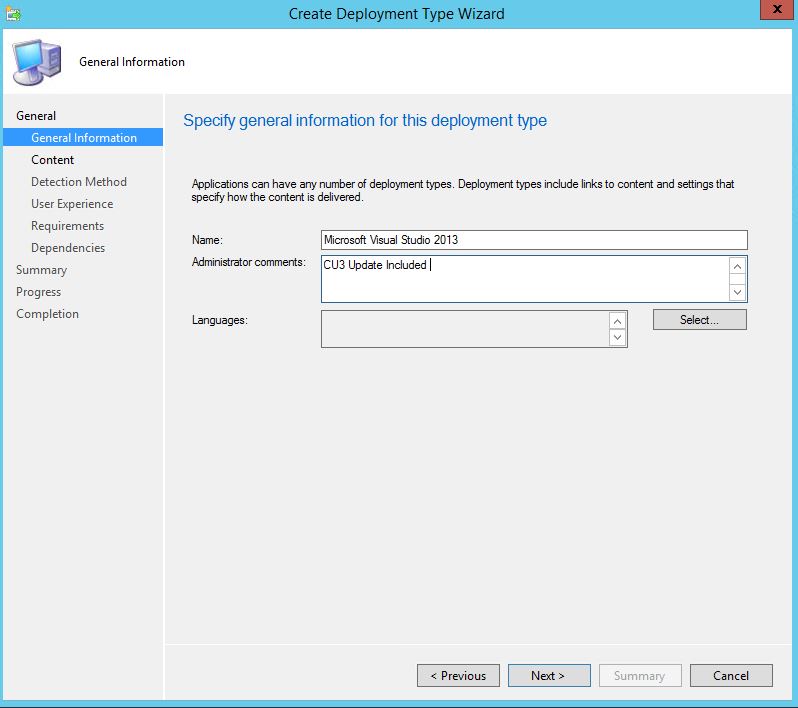
now to begin creating the application right click create application and then select manually specify application information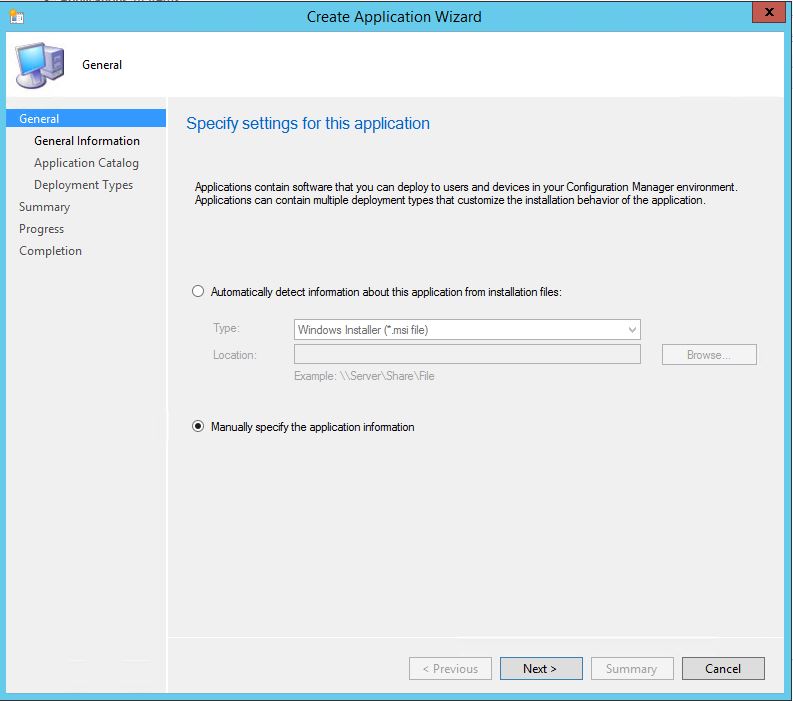
Name the application appropriately and select next
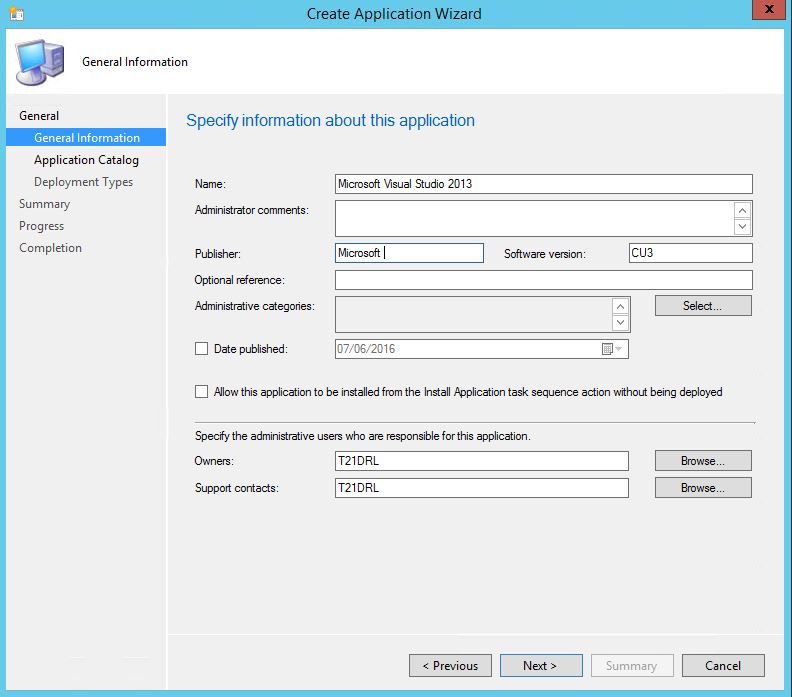
Now you can add icons and a description if you want (the icons will show in software center)
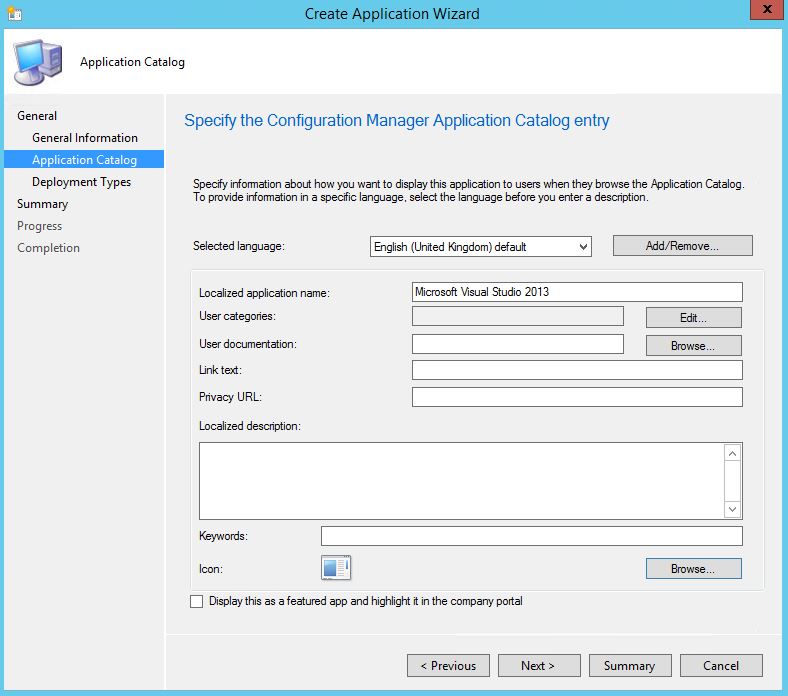
Select Add
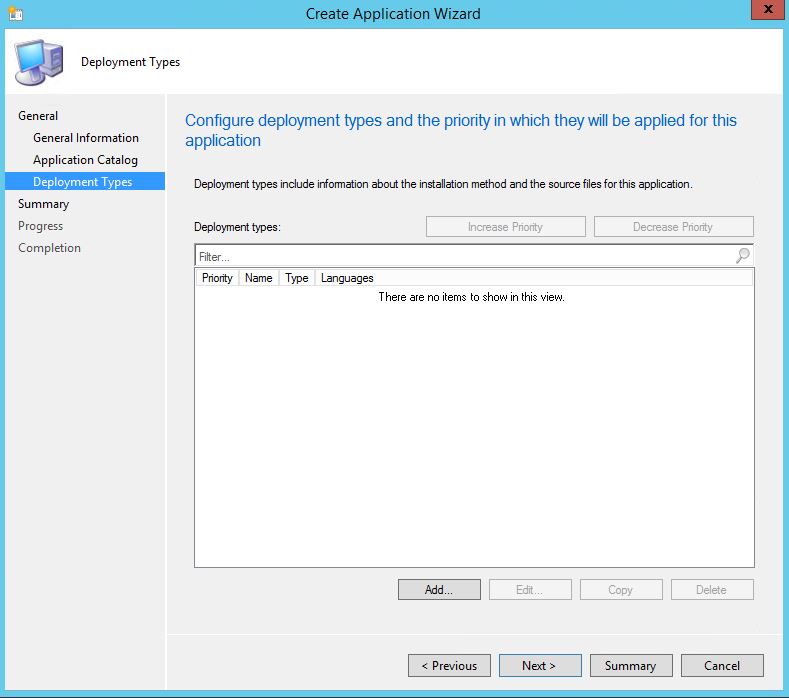
Select manually specify he deployment type information
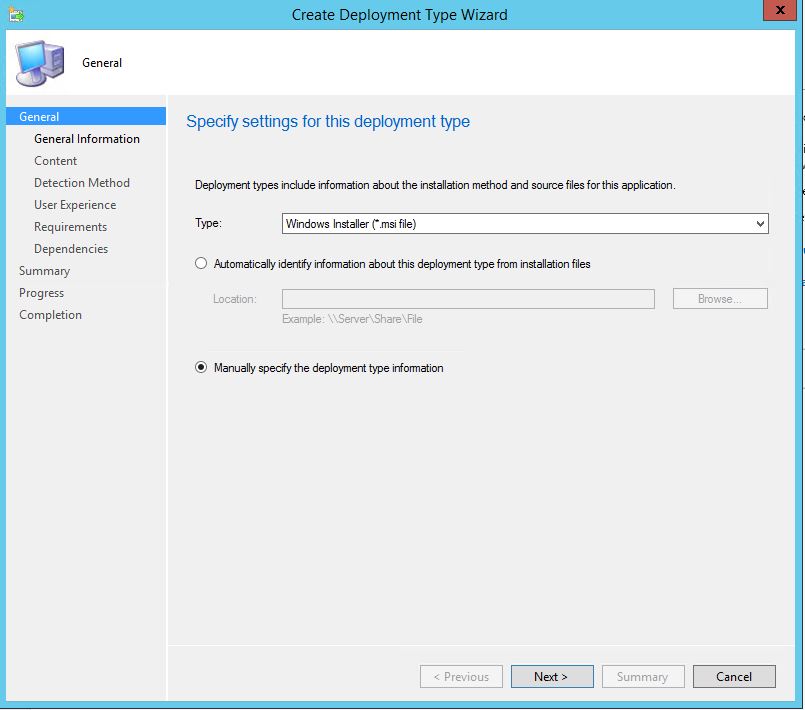
Name appropriately
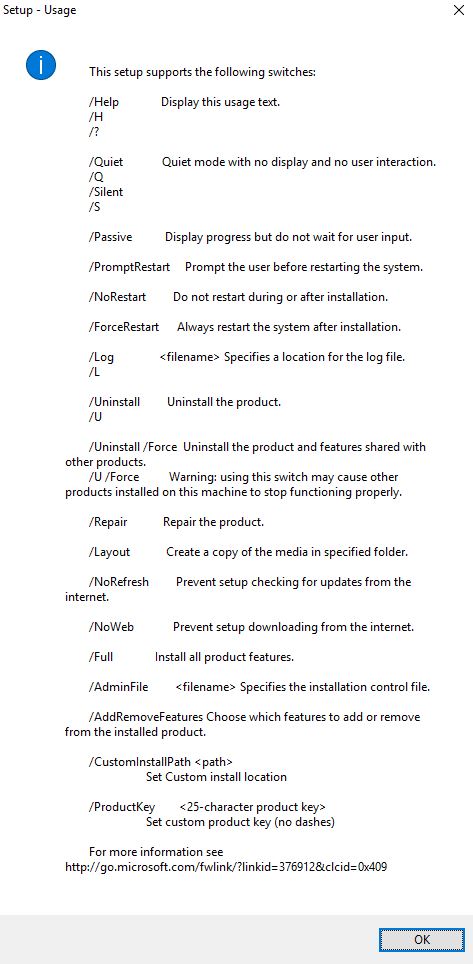
Now locate the extracted iso and then use the appropriate switches to install, I use the following
Microsoft Visual Studio 2013 CU3 x86\vs_professional.exe /Q /S /LOG %SYSTEMROOT%\TEMP\VS_2013_U3.log /NoWeb /NoRefresh /Full /ProductKey Your product key without any – symbols

This part is down to personal preference but I use the devenv.exe as my detection method. This will or won’t work depending what features you select in the adminfile.xml
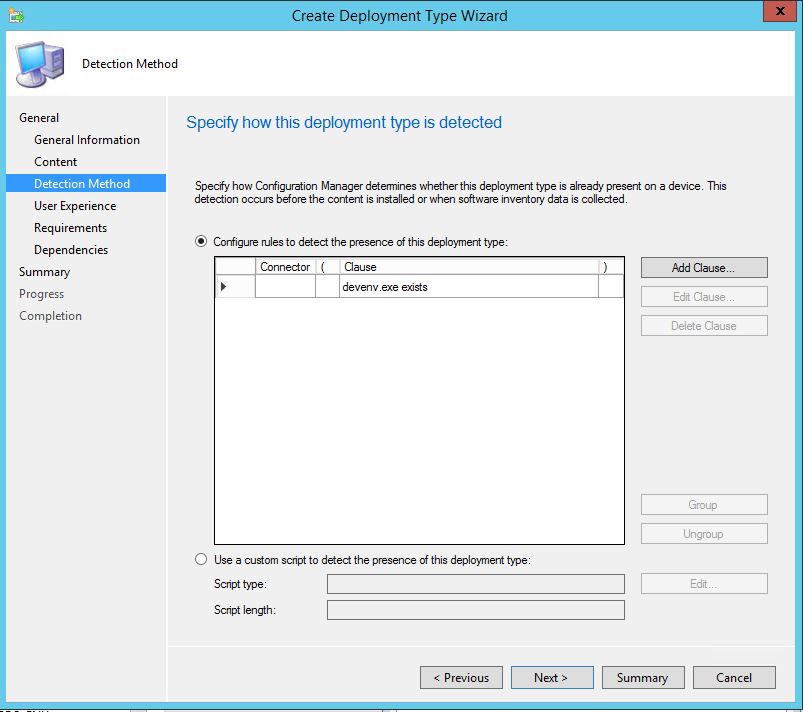
Then select next unless you need to add any additional installs
additional switches that may help if your install differs from this example
SolidWorks 2016-17
There are many different ways to install SolidWorks , I used to use he admin.xml file in the past however I have found creating an administrative imagine works best on the newest version which is currently 2016-17 edition. Sadly there is no documentation regarding a sccm install on the solid works website or installation instructions so i decided to create this guide
Firstly, install the license manager which is fairly simple if you follow this guide below from SolidWorks,
http://help.solidworks.com/2016/English/Installation/install_guide/t_installing_snl_lic_mgr.htm
Side note if you plan on upgrading SolidWorks you will also need to update the license manager to the same or newer version
Once the above is complete you can run the setup.exe from cd1 in my case and select create new image
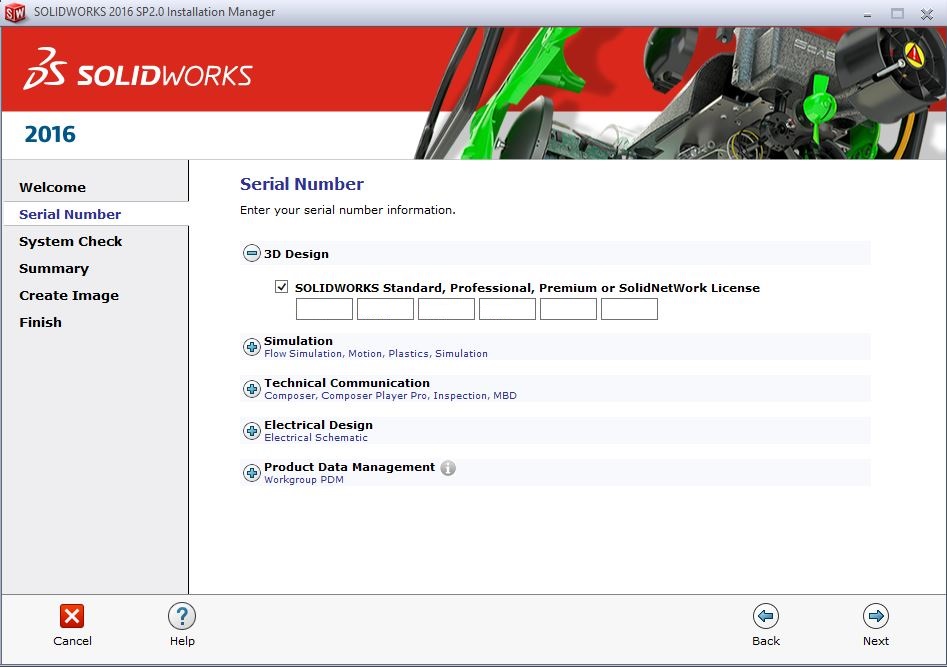
select which modules of solidworks you wish to install and also you license number
next accept the license agreement and change the image location if you wish (this is just a temporary location while building this image)
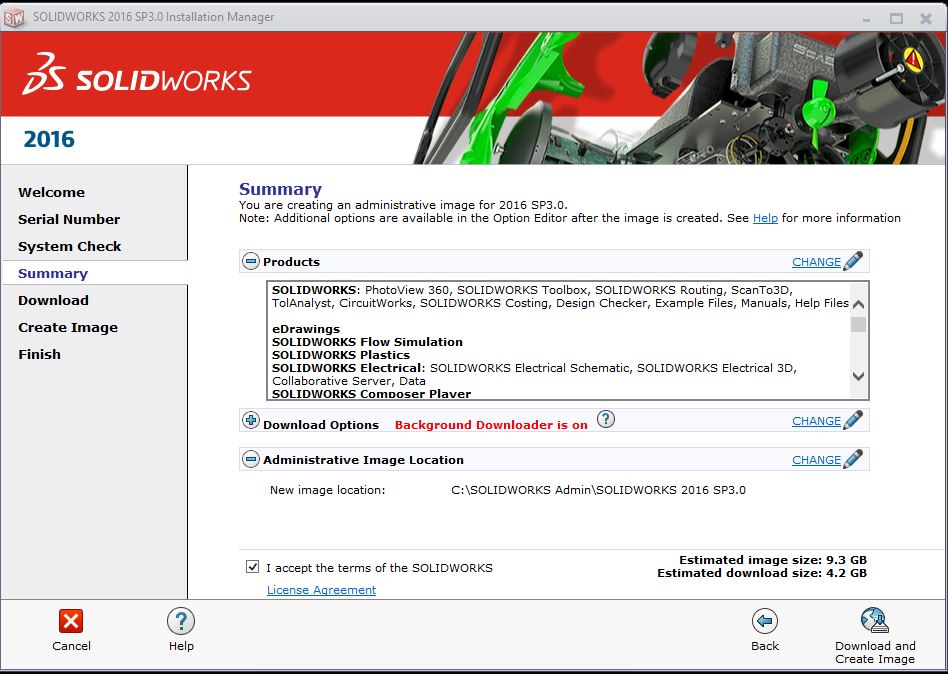
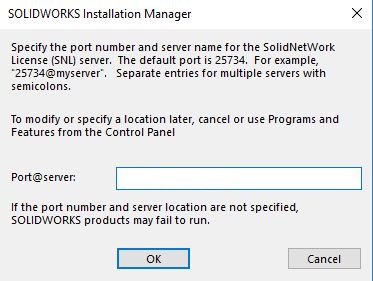
if you need to change the port you can otherwise leave as the default 25734@youlicense server
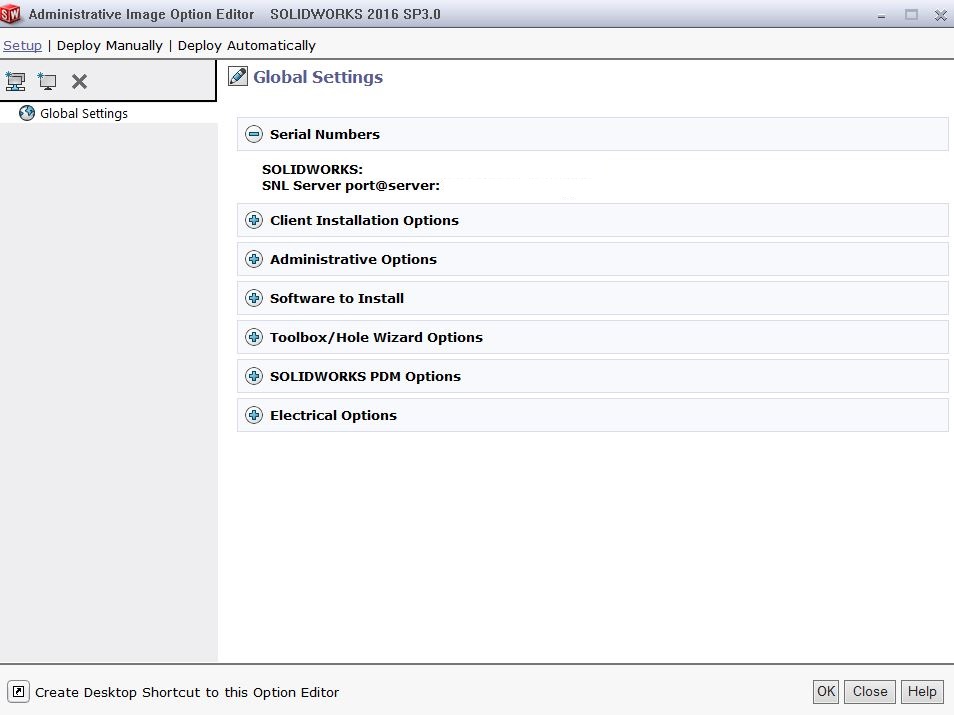
next select customize image
in this section you can make any changes to the software you want to install, this can be done at a later stage if you ever need to make changes
if you kept the creation location as the default you should see SOLDWORKS Admin
![]()
once copied to a share you use for deployments you can go ahead and start to create the application in sccm
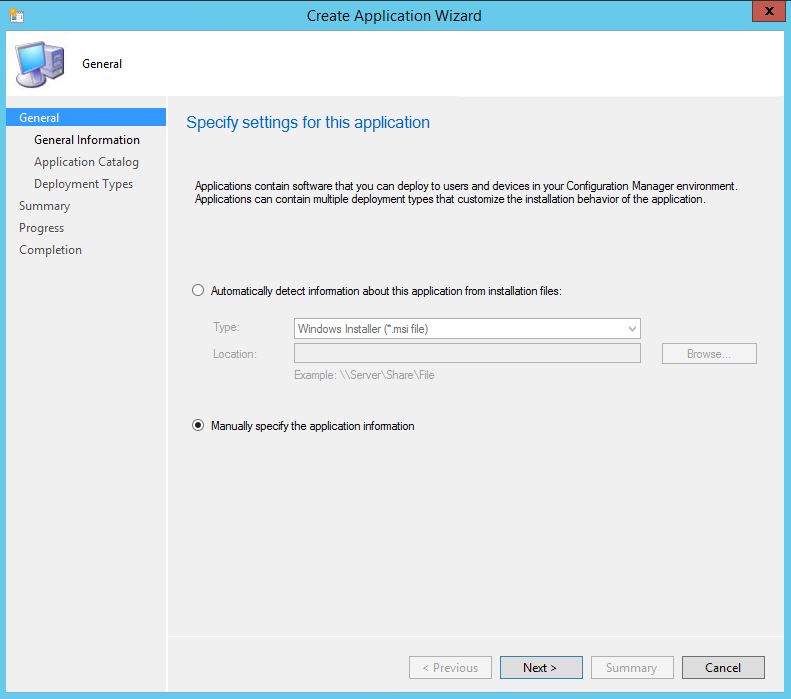
You could create a package and run from the DP as its fairly large however I prefer to create an application
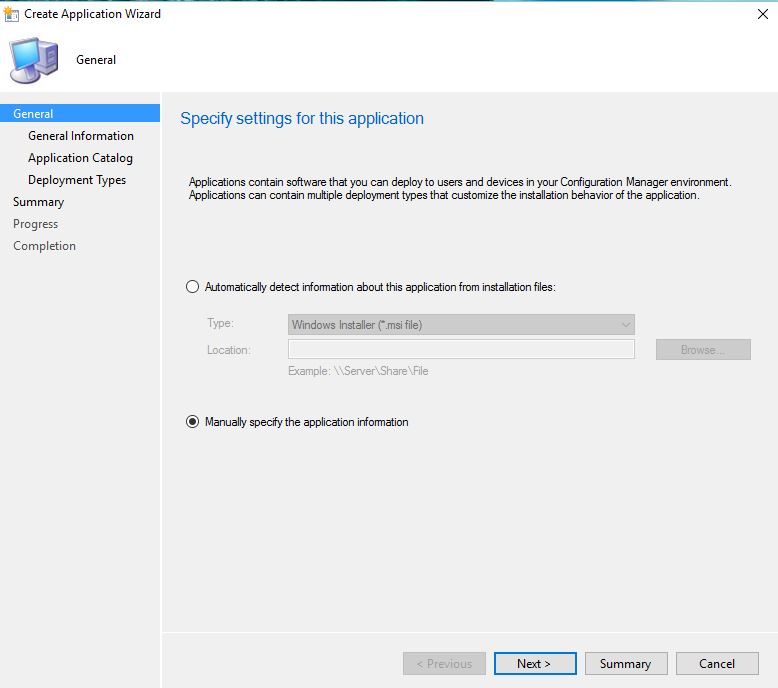
Select create application and then select manually specify the application information
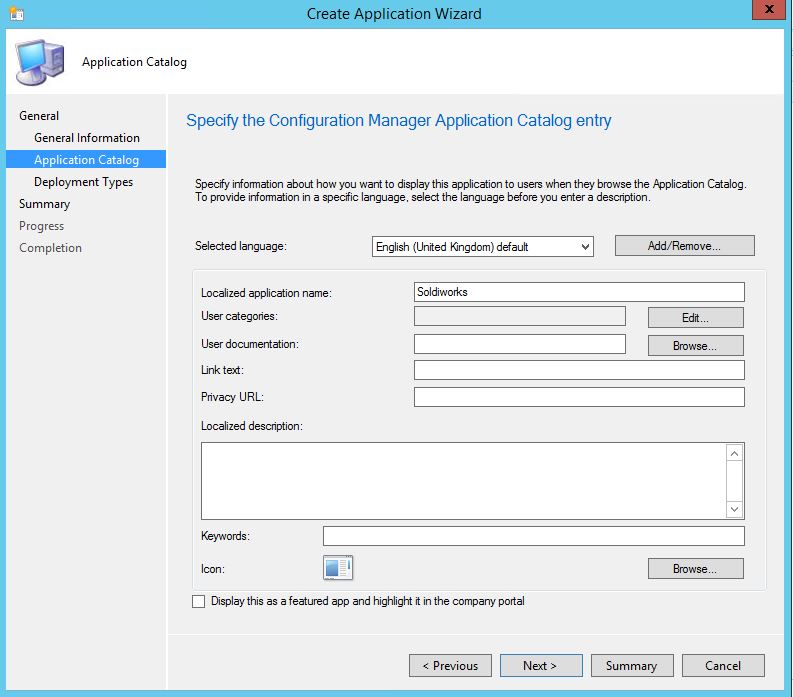
Next name the application and other relevant information
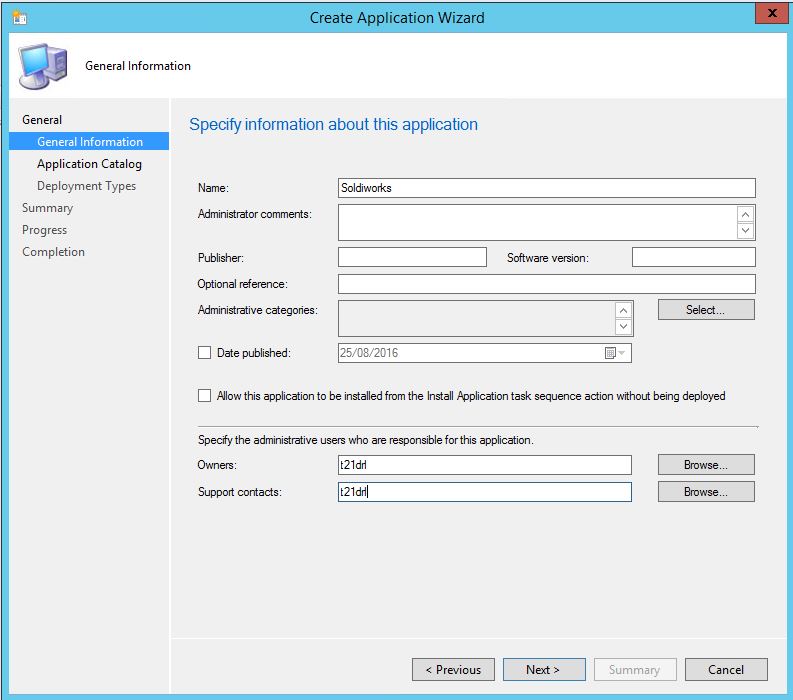
Add any information you see fit
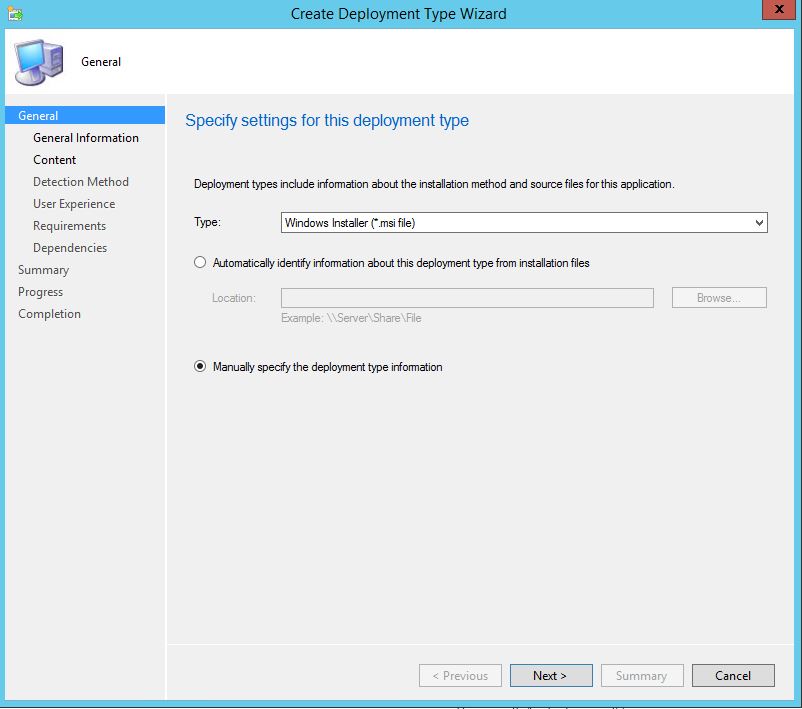
Manually specify the deployment information
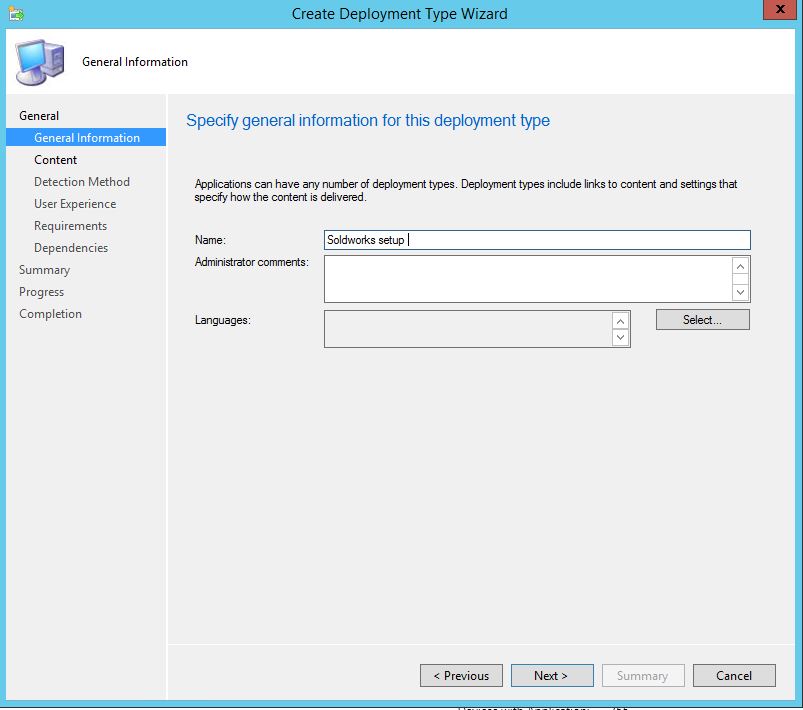
Name this solidworks setup
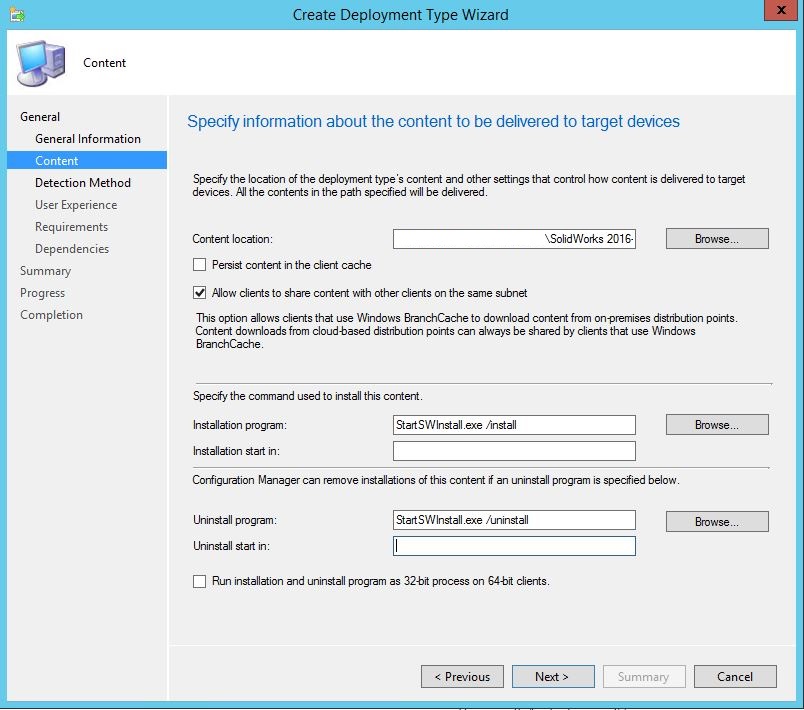
For the install program you can customize this as you wish
For example StartSWInstall.exe /install
/install Installs the administrative image on client machines
/uninstall Uninstalls the software from client machines
/removedata Available for uninstall only. Removes SolidWorks data files and folders during uninstall.
/removeregistry Available for uninstall only. Removes SolidWorks registry entries during uninstall.
/now Starts the install or uninstall immediately. The 5 minute warning dialog box does not appear
/showuiDisplays a progress window for the SolidWorks Installation Manager. Otherwise the SolidWorks Installation Manager is hidden from the user.
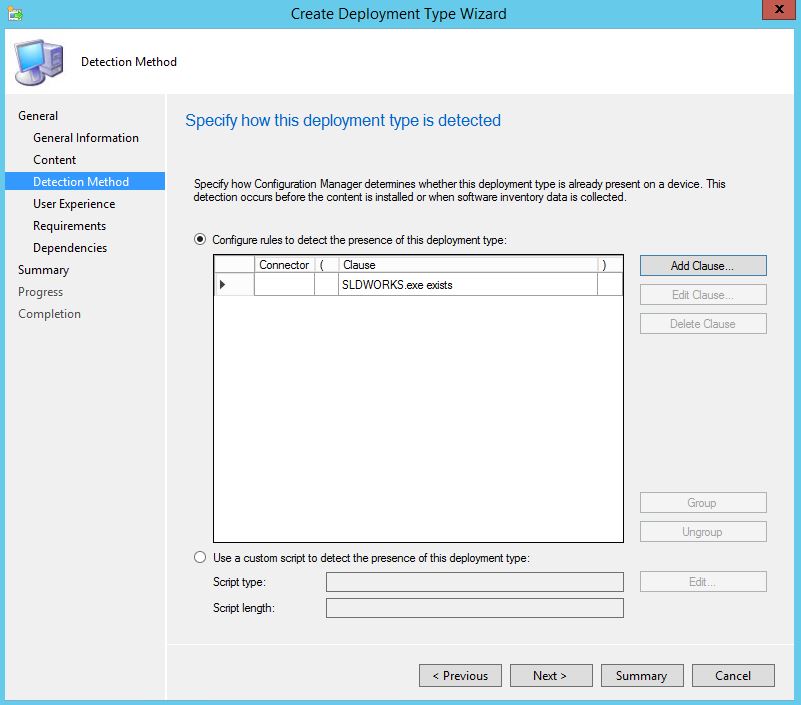
For the detection method I have use file type
The file I use is the SLDWORKS.exe and as an option I also use version number

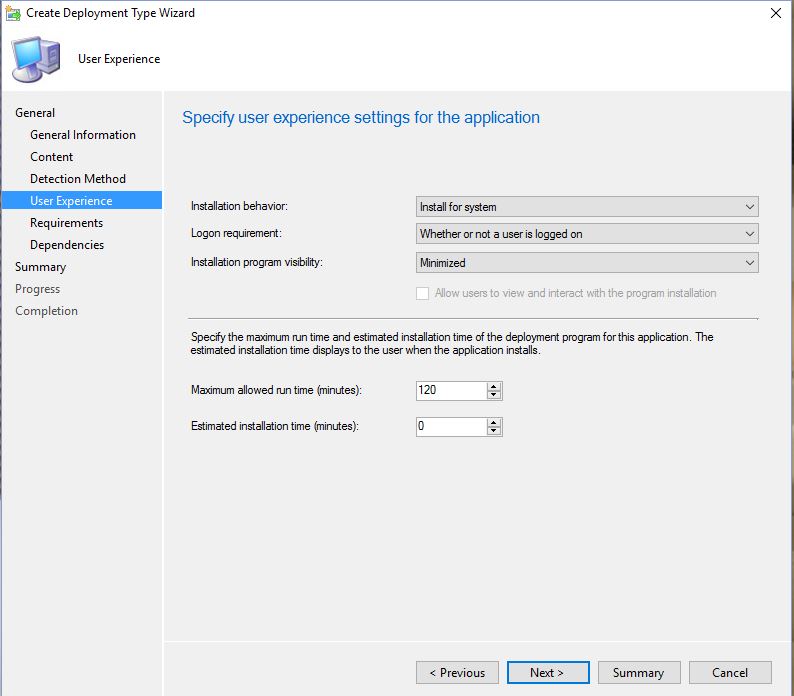
Next install for system and minimized, as this is a fairly large application I have put 60 minutes as the maximum run time
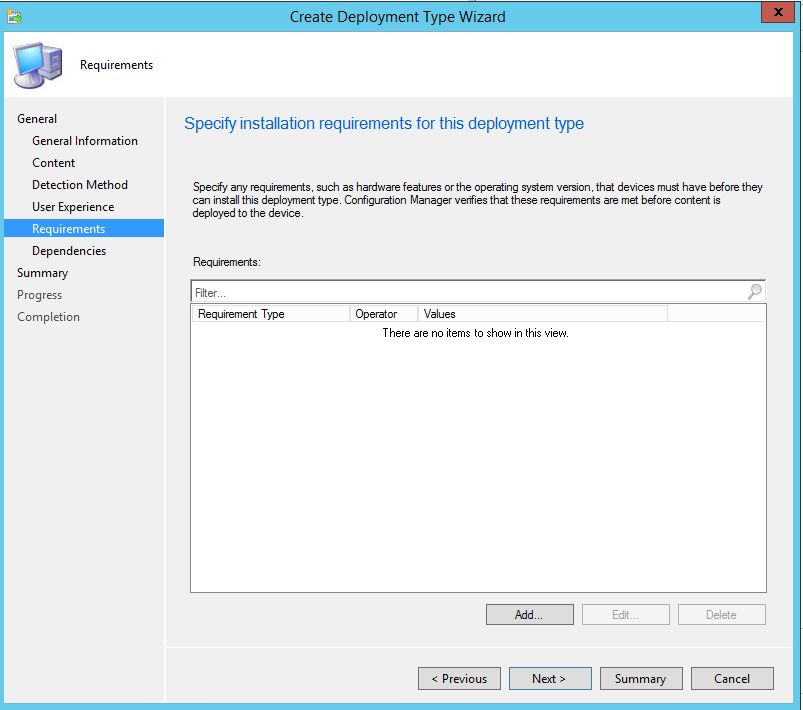
If you have any requirements you can them now
Now dependencies depend on what extras you selected in your admin image, the admin image will add most dependencies but sql for example isn’t add if you select the full electrical module so I would advise testing before getting to this stage
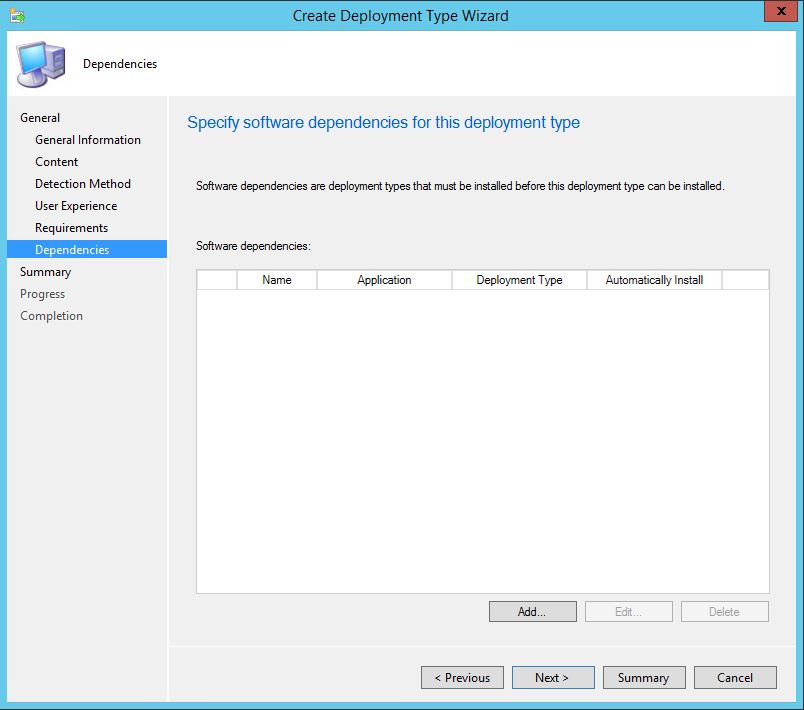
Select next until the wizard has finished and that’s it you’re ready to deploy
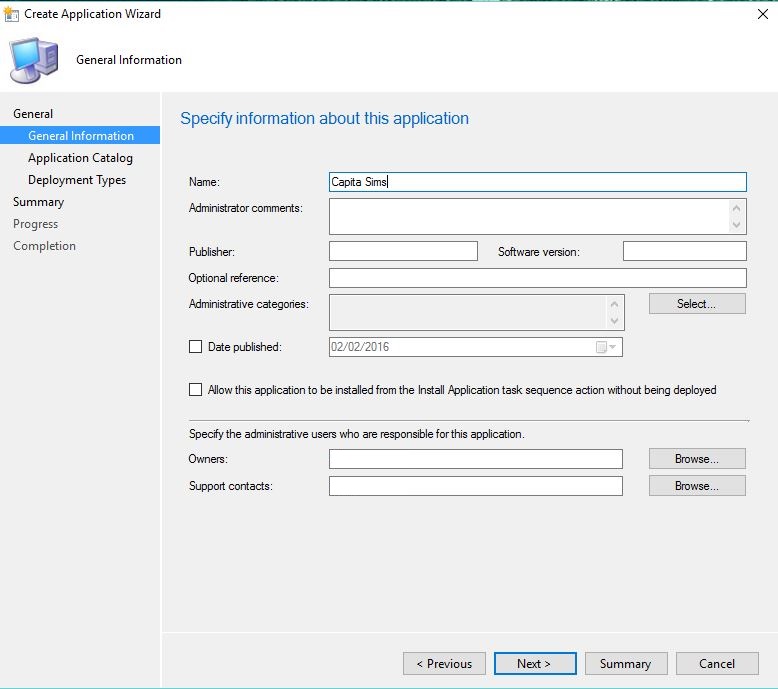
Capita Sims
In order to install capital Sims in one application you first need to make sure your permissions on your sims shares are setup correctly and that Configmgr has read access
I will be creating one big application with multiple installs, some people may prefer to create individual applications its purely down to your environment
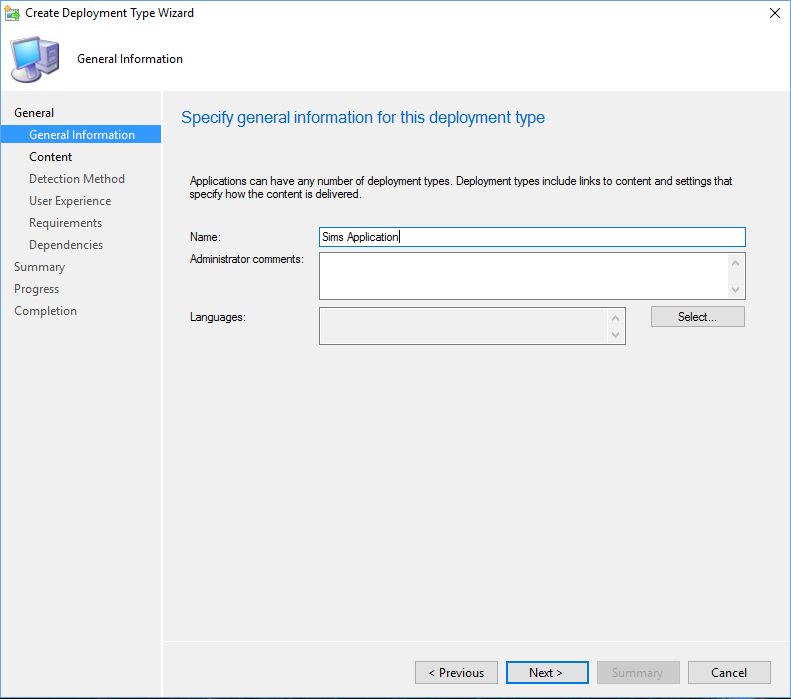
Firstly, right click create application and then Manually specify the application information
Next give the application a name
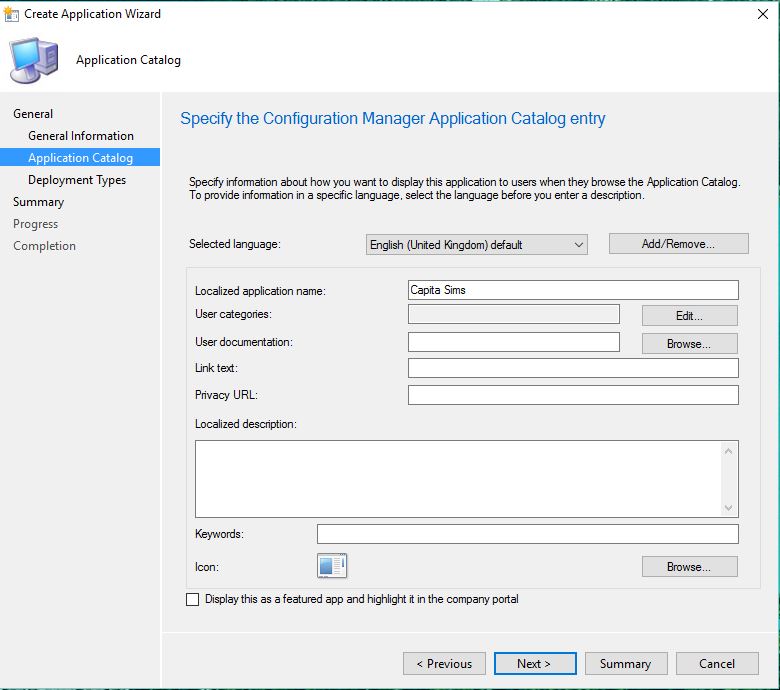
Add an icon for the application catalog if you wish, then select next
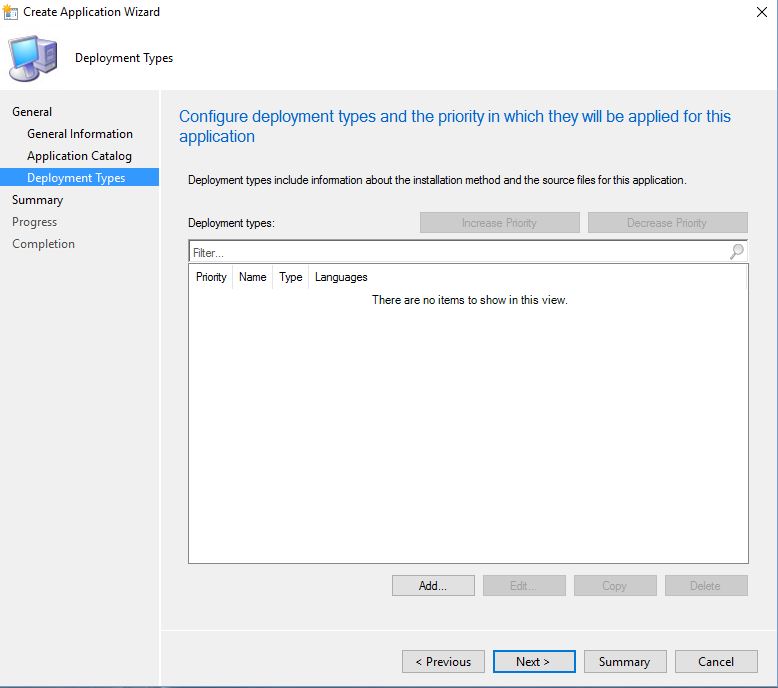
Now select Add
select Manually specify the application information
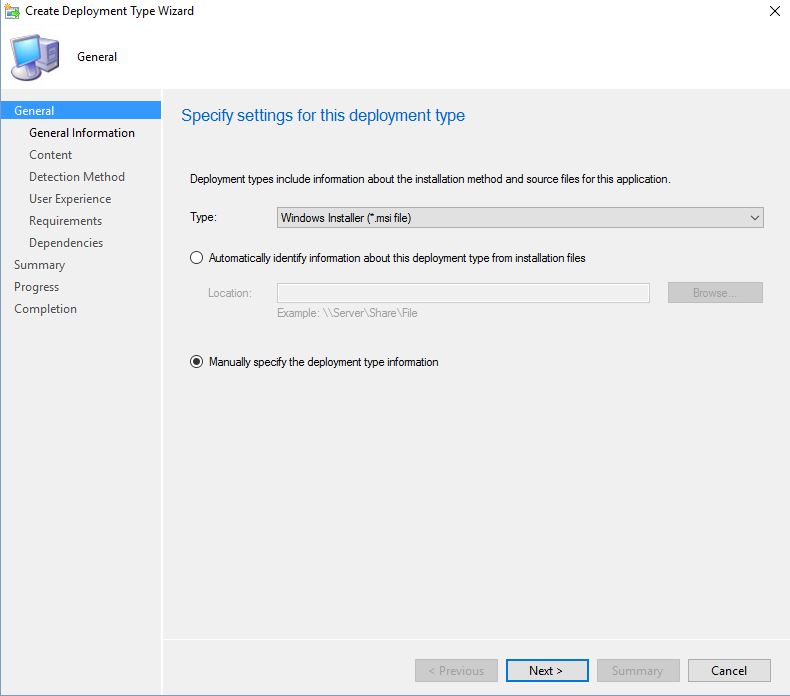
Name the application (this is one of the first individual applications install)
Now choose the location on your sims share where you install are located
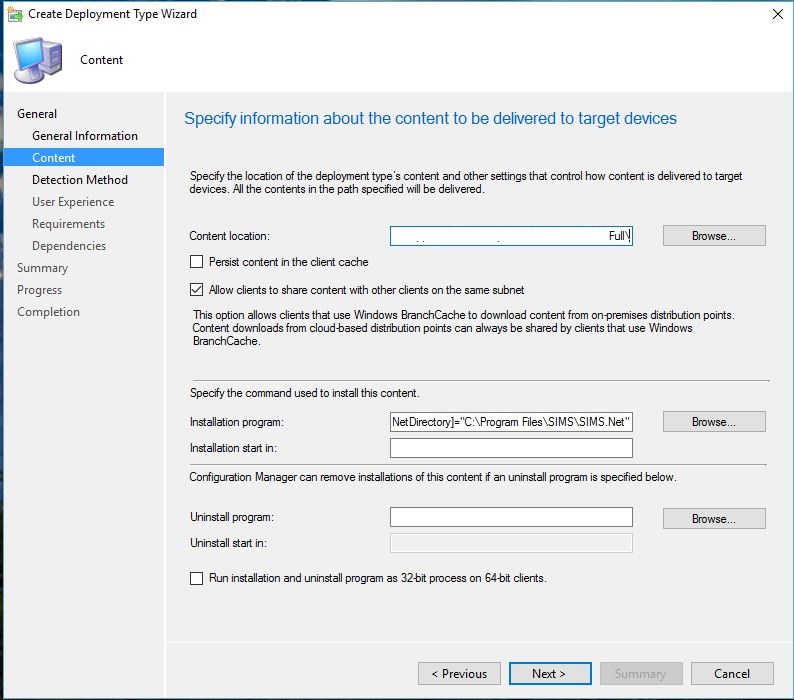
The installation program for each application is listed below, the sims information may be different on your sims sever but most use the S:\sims location. I have also created an MSI that copies the connect.ini file to the C:\Program Files location. You could use an xcopy script for example or create an msi like I have done.
Sims Applcation setup
SIMSApplicationSetup.exe /S {QuietMode} [SIMSDirectory]=”S:\SIMS” [SIMSDotNetDirectory]=”C:\Program Files\SIMS\SIMS.Net”
Sims Manual setup
SIMSManualSetup.exe /S {QuietMode} [SIMSDirectory]=”S:\SIMS\” [SIMSDotNetDirectory]=”C:\Program Files\SIMS\SIMS.Net”
Sims AMPARK
SIMSAMPARKSetup.exe /S {QuietMode} [SIMSDirectory]=”S:\SIMS” [SIMSDotNetDirectory]=”C:\Program Files\SIMS\SIMS.Net”
SOLUS 3 Agent
AgentInstaller.js “agent_installer.log” “net.tcp://localhost:52966” “net.tcp://your-sims-server:52965” “Solus3.Keys.DeploymentService.Public.xml” “SOLUS3AgentInstaller_x86.msi” “SOLUS3AgentInstaller_x64.msi”
There is an order that these need to be installed in as you can see below
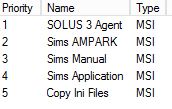
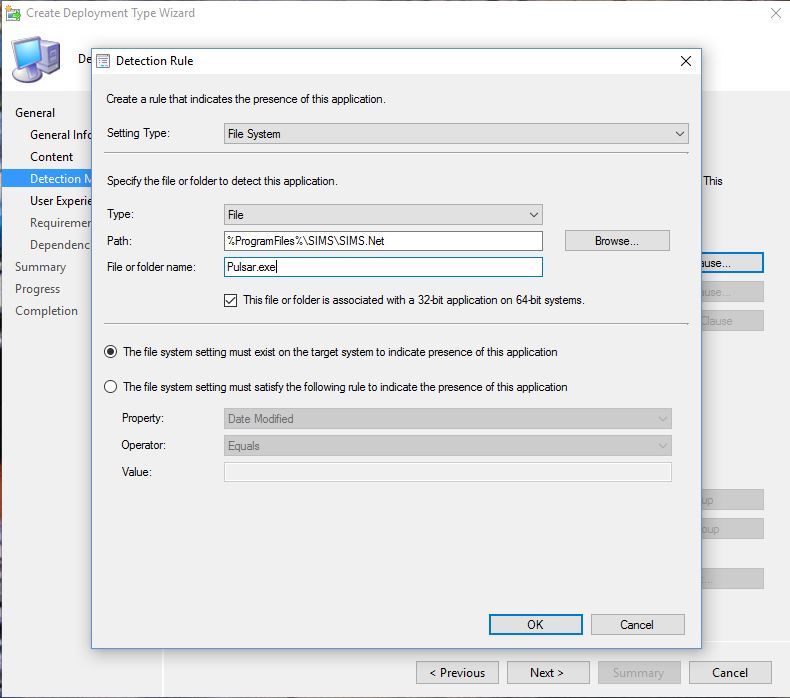
I have used the file system detection method for each program which is listed below, If you wish to run reinstallS after a sims update for example you can use the date modified option to trigger this.
PATH %ProgramFiles%\SIMS\SIMS.Net
Sims Applcation setup FILE Pulsar.exe
Sims Manual FILE SIMSLoad.ini
Sims AMPARK FILE SIMSAMPARKSetup.txt
PATH %Program Files%\Solus3\AgentService
Solus 3 FILE Heartbeat.config
Install for system, whether or not a user is logged on and change he maximum allow run time to 30 minutes
There are no requirements for the first install after that you can set the previous program as a requirement and so on until you have created installs for each application
Select next untill the wizard has finished and distribute the application then deploy as you wish

