To deploy Microsoft visual studio 2013 CU3 we first need to extract the ISO and copy it over to a share
Next week can need to create a AdminDeployment.xml in the root of the folder, this can be done by running “vs_professional.exe /CreateAdminFile” . Within the file you can turn off or on features you want to install, you can find more information about this in the link below
https://msdn.microsoft.com/en-us/library/ee225237.aspx?f=255&MSPPError=-2147217396
now to begin creating the application right click create application and then select manually specify application information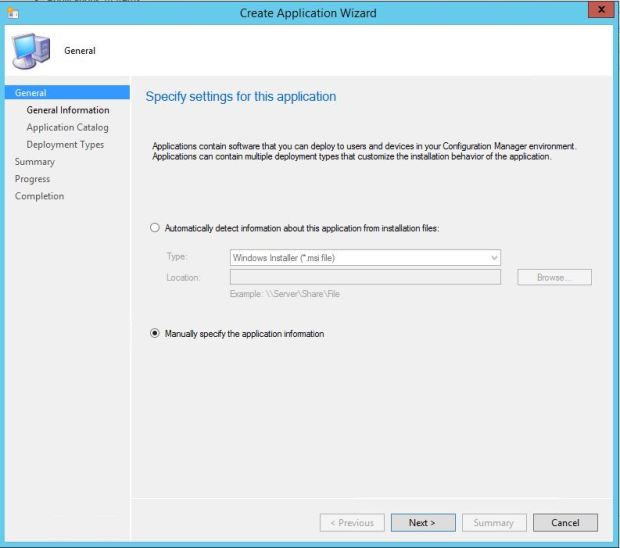
Name the application appropriately and select next
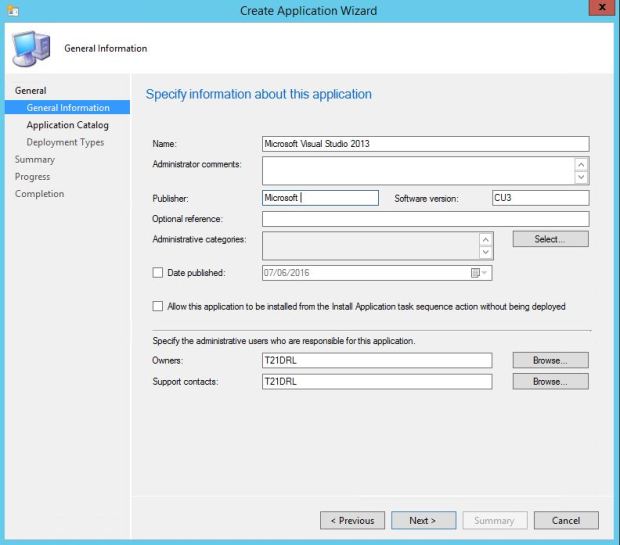
Now you can add icons and a description if you want (the icons will show in software center)

Select Add
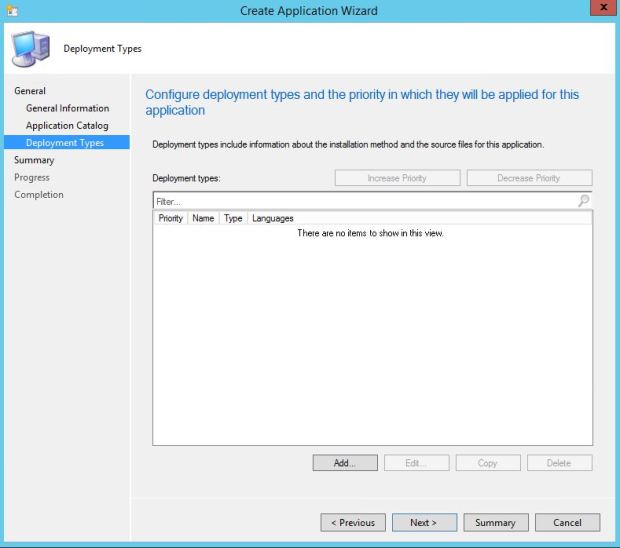
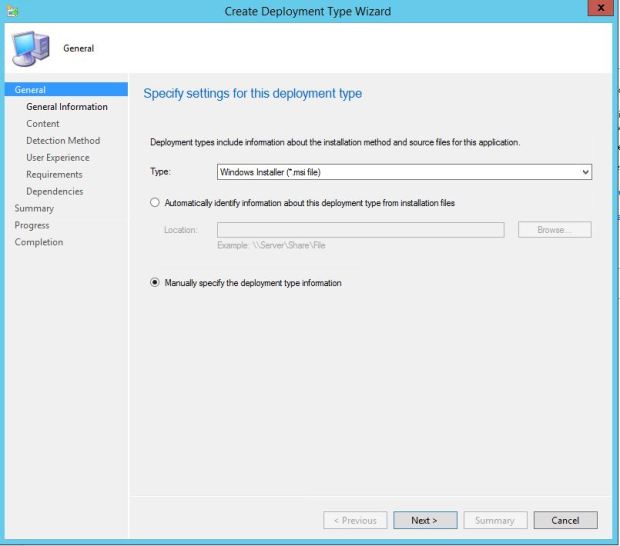
Select manually specify he deployment type information
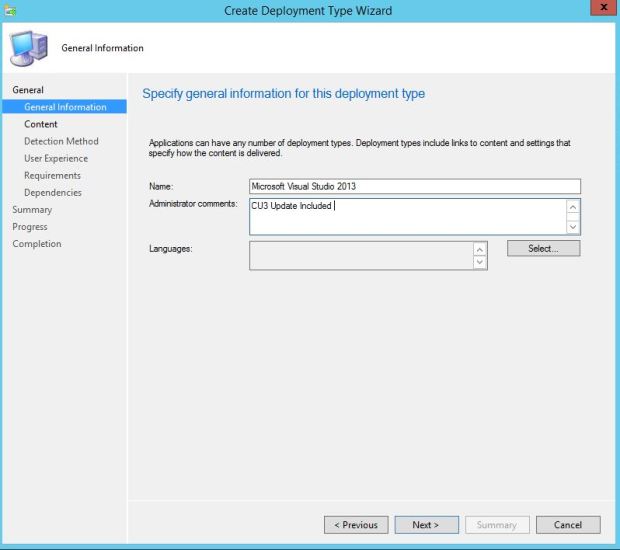
Name appropriately
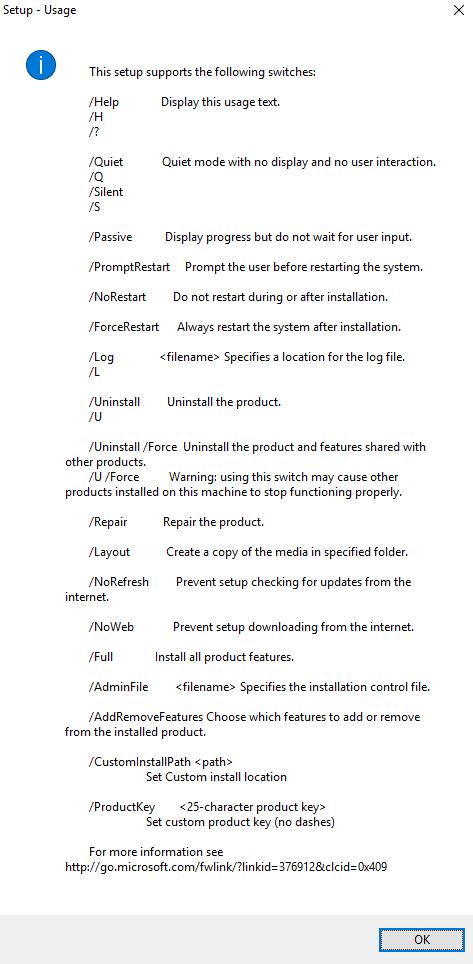
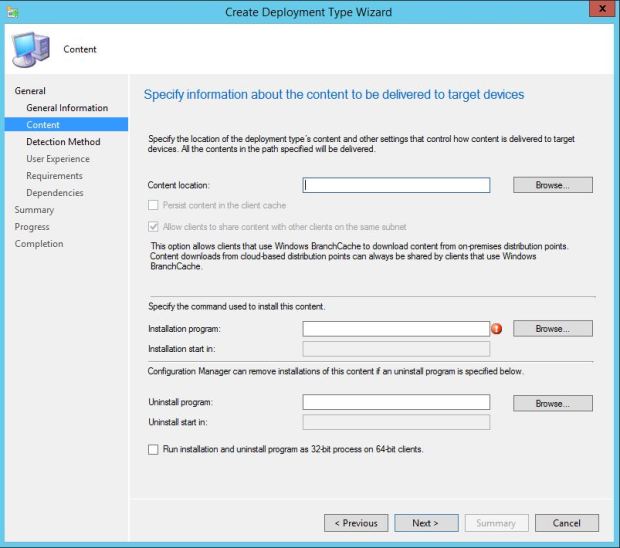
Now locate the extracted iso and then use the appropriate switches to install, I use the following
Microsoft Visual Studio 2013 CU3 x86\vs_professional.exe /Q /S /LOG %SYSTEMROOT%\TEMP\VS_2013_U3.log /NoWeb /NoRefresh /Full /ProductKey Your product key without any – symbols
This part is down to personal preference but I use the devenv.exe as my detection method. This will or won’t work depending what features you select in the adminfile.xml
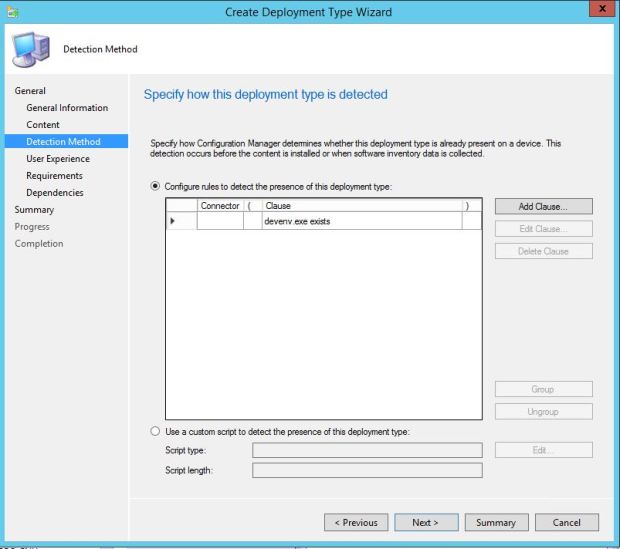
Then select next unless you need to add any additional installs
additional switches that may help if your install differs from this example