SolidWorks 2016-17

There are many different ways to install SolidWorks , I used to use he admin.xml file in the past however I have found creating an administrative imagine works best on the newest version which is currently 2016-17 edition. Sadly there is no documentation regarding a sccm install on the solid works website or installation instructions so i decided to create this guide

Firstly, install the license manager which is fairly simple if you follow this guide below from SolidWorks,

http://help.solidworks.com/2016/English/Installation/install_guide/t_installing_snl_lic_mgr.htm

Side note if you plan on upgrading SolidWorks you will also need to update the license manager to the same or newer version

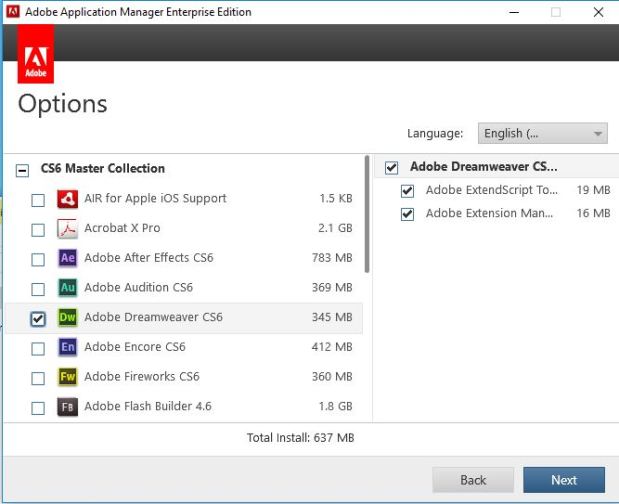
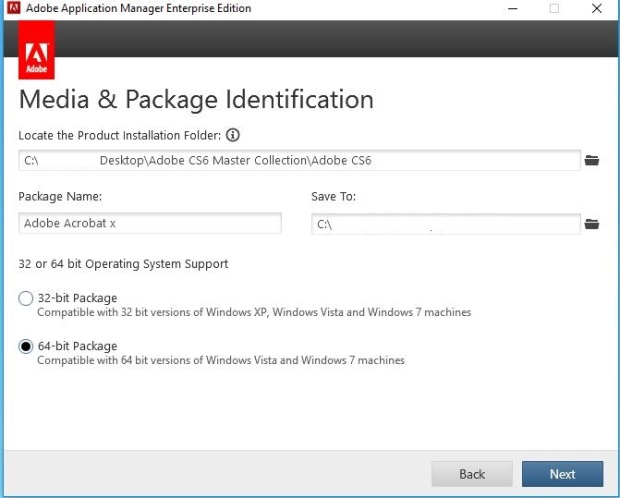
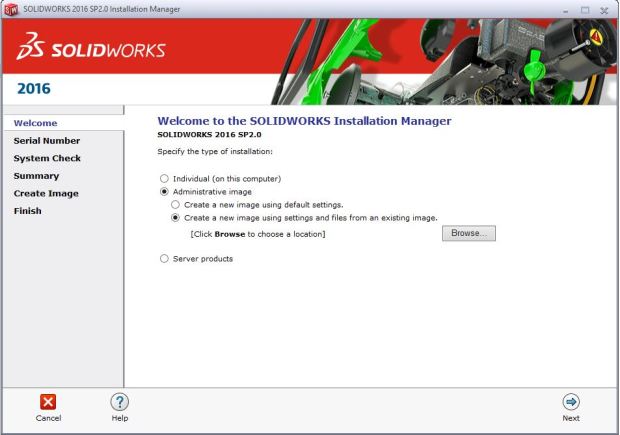
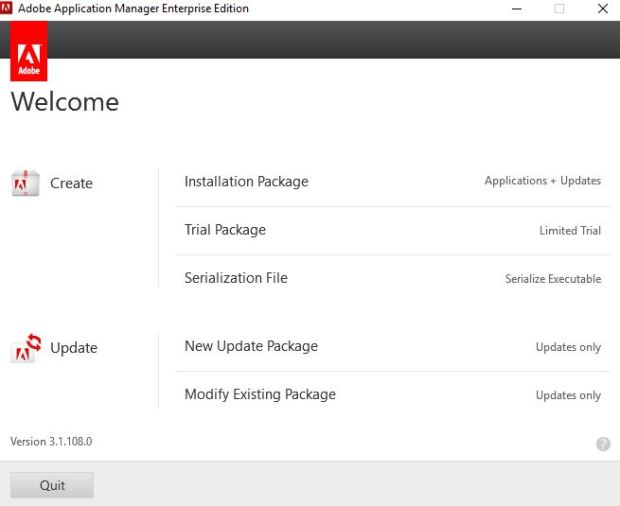
Once the above is complete you can run the setup.exe from cd1 in my case and select create new image

1

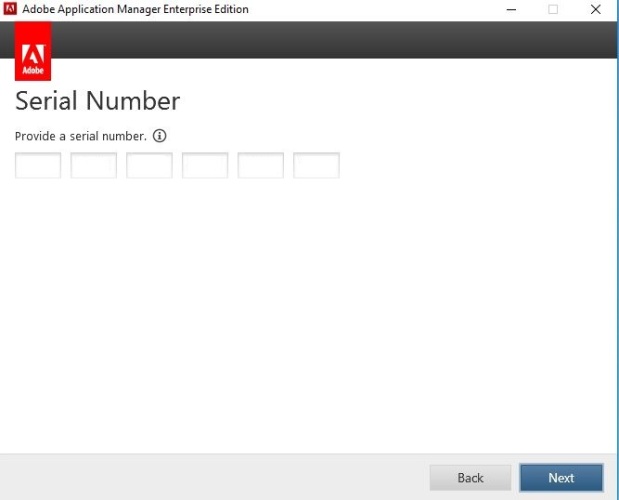
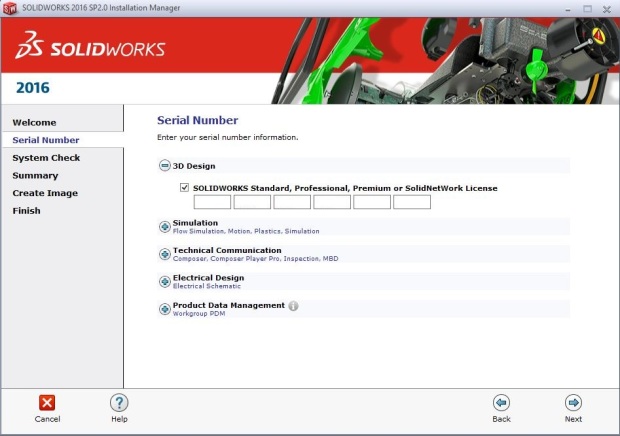
select which modules of solidworks you wish to install and also you license number

2.JPG

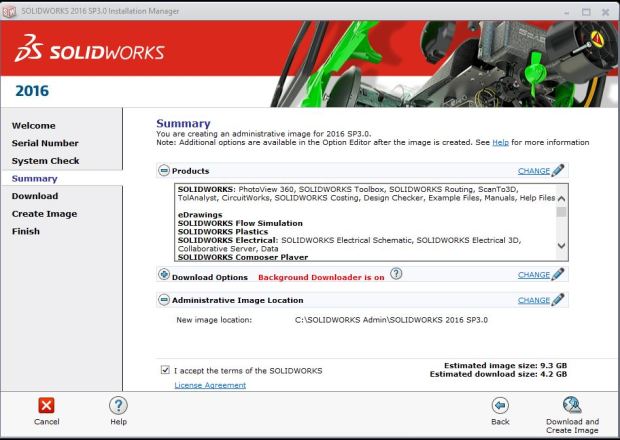
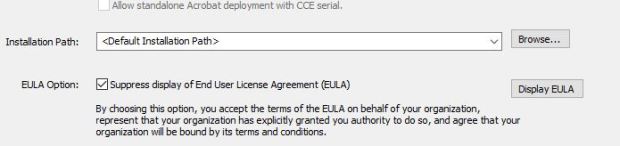
next accept the license agreement and change the image location if you wish (this is just a temporary location while building this image)

3

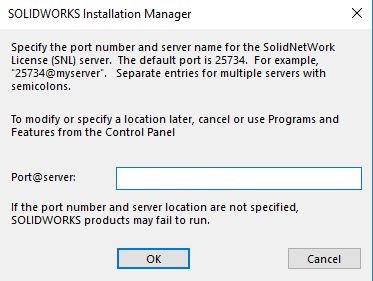
if you need to change the port you can otherwise leave as the default 25734@youlicense server

4

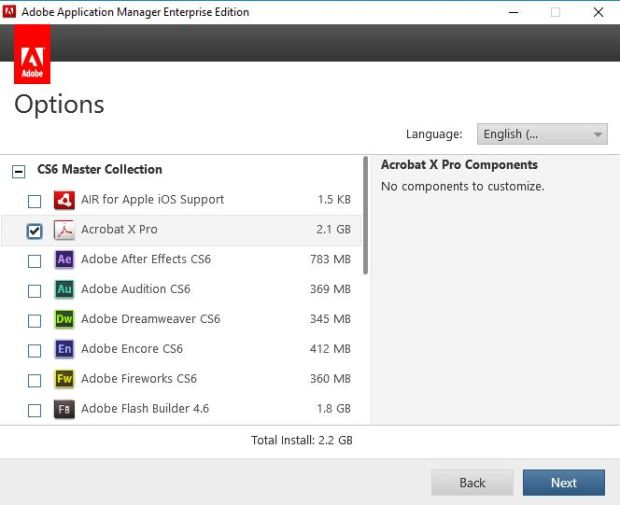
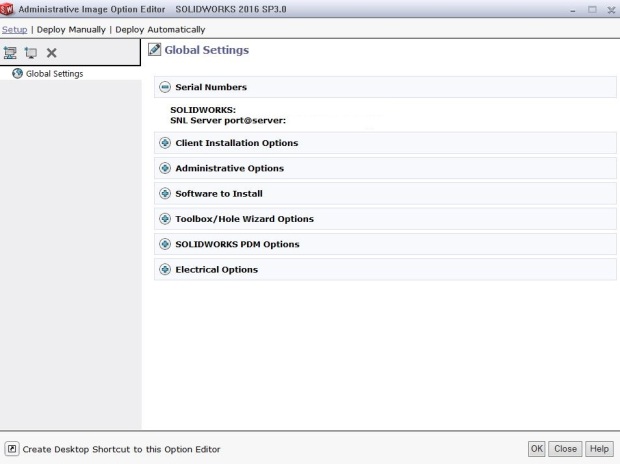
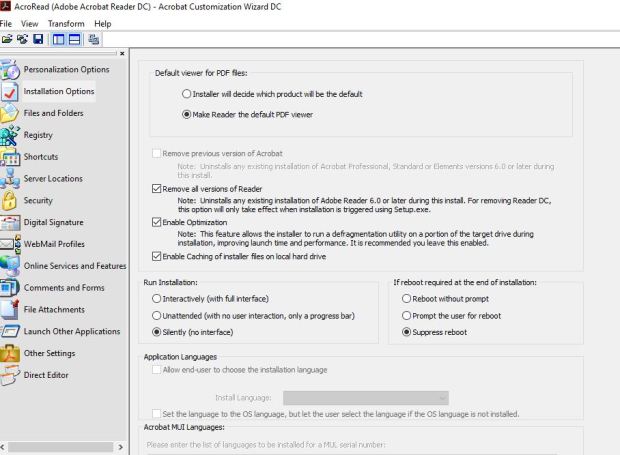
next select customize image

5

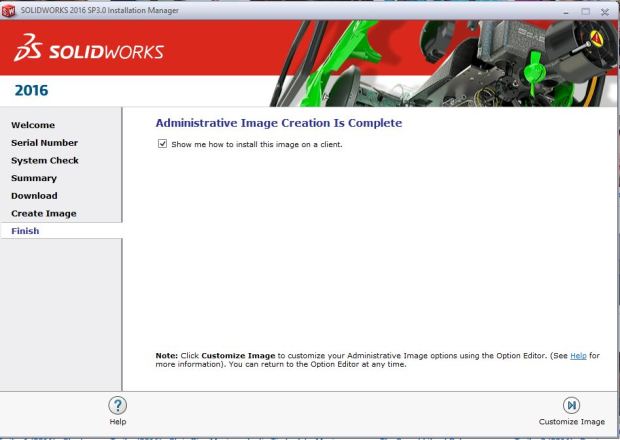
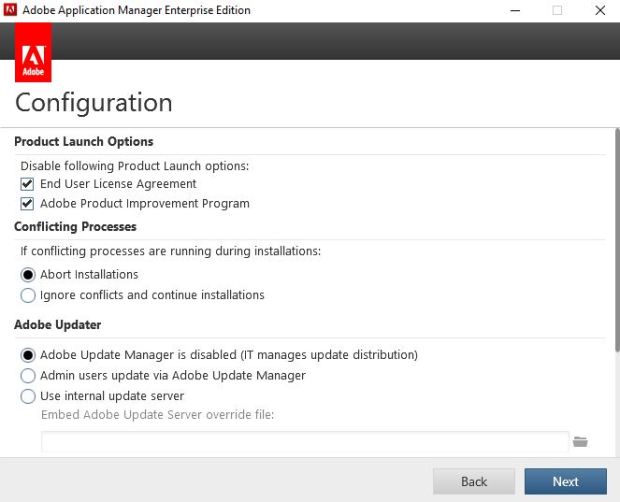
in this section you can make any changes to the software you want to install, this can be done at a later stage if you ever need to make changes

6

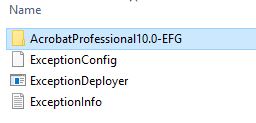
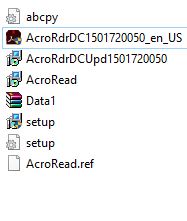
if you kept the creation location as the default you should see SOLDWORKS Admin

7.JPG

once copied to a share you use for deployments you can go ahead and start to create the application in sccm

You could create a package and run from the DP as its fairly large however I prefer to create an application

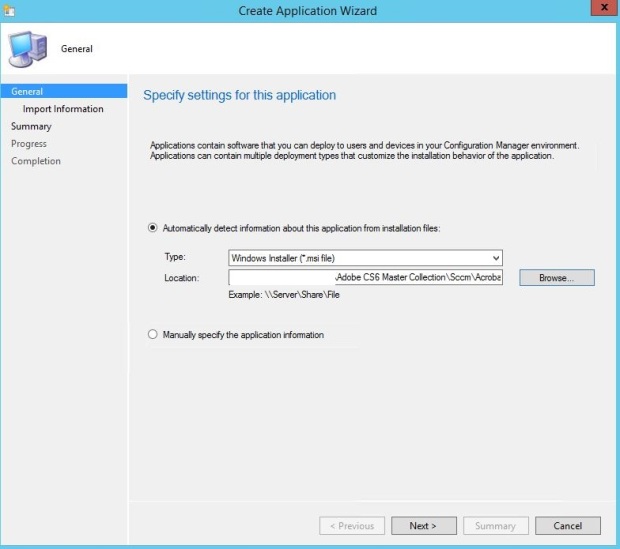
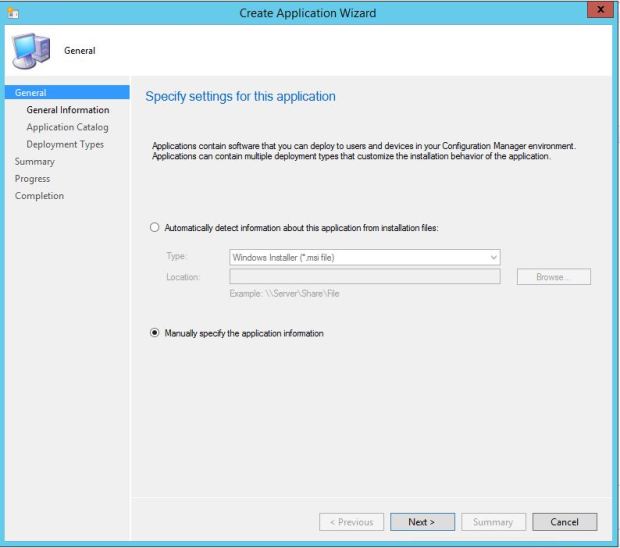
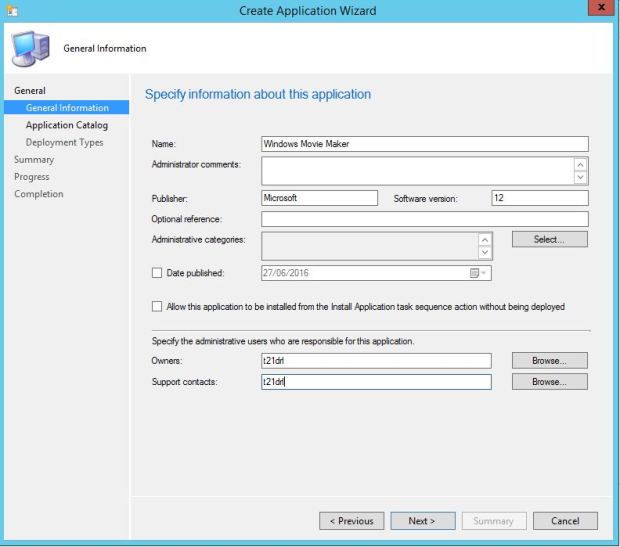
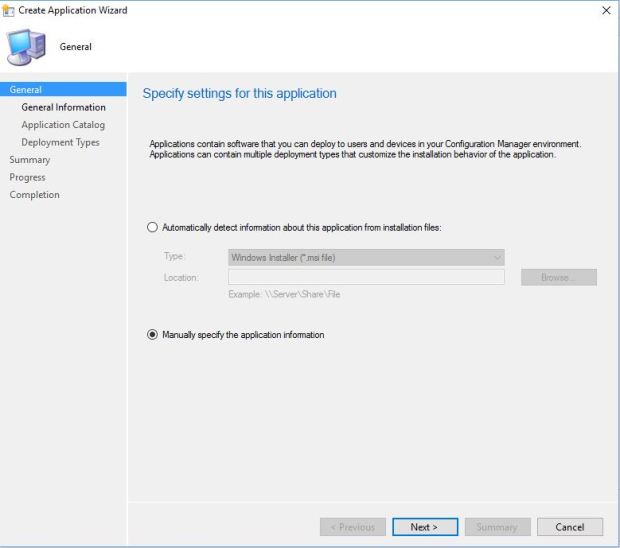
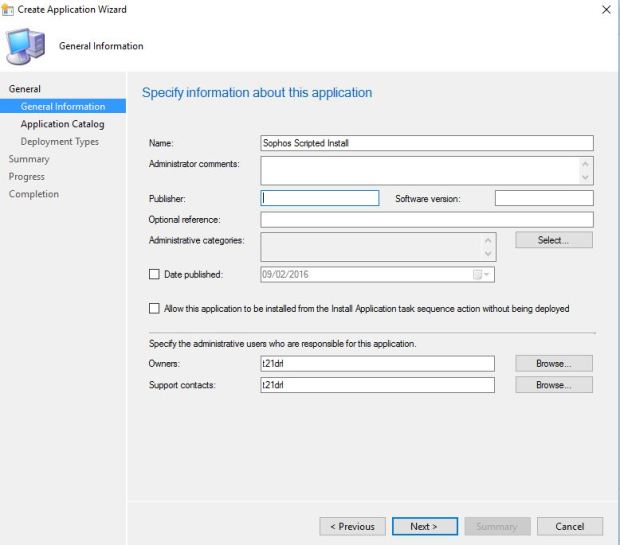
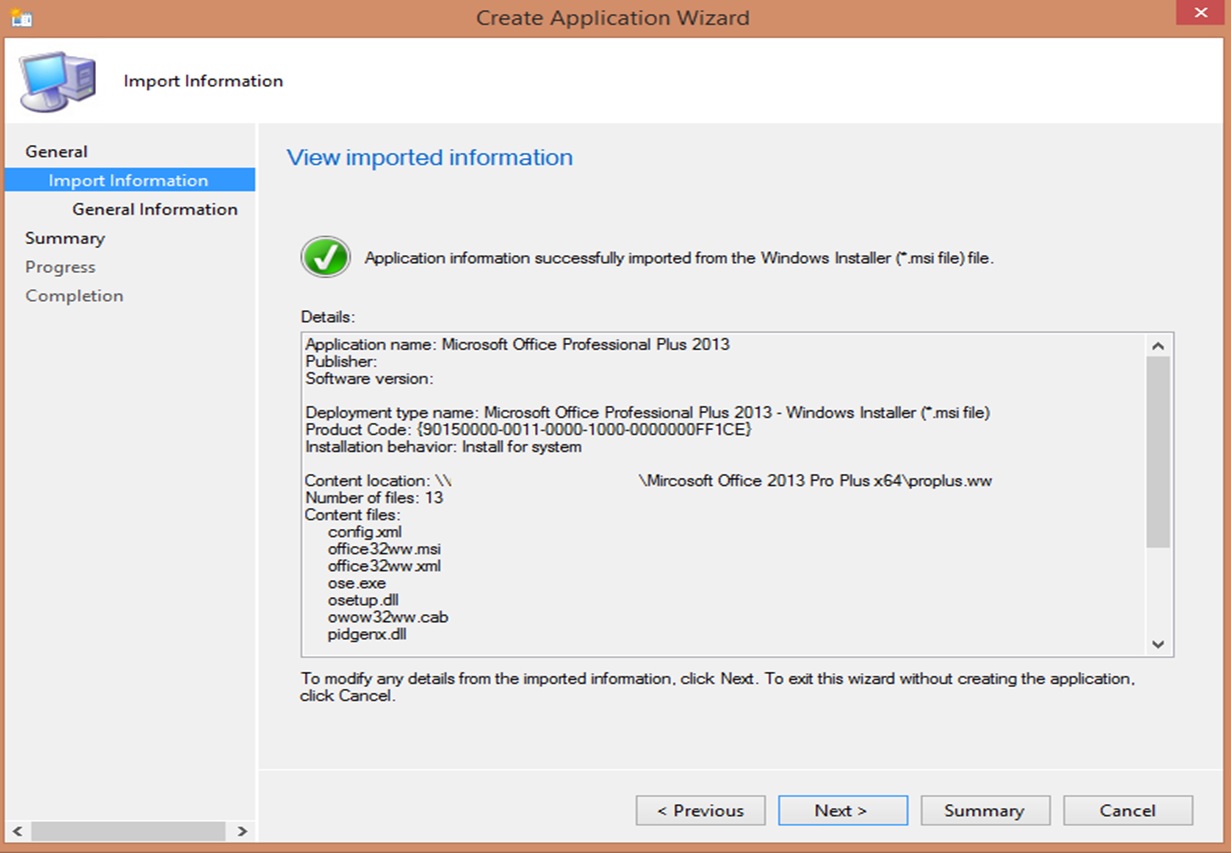
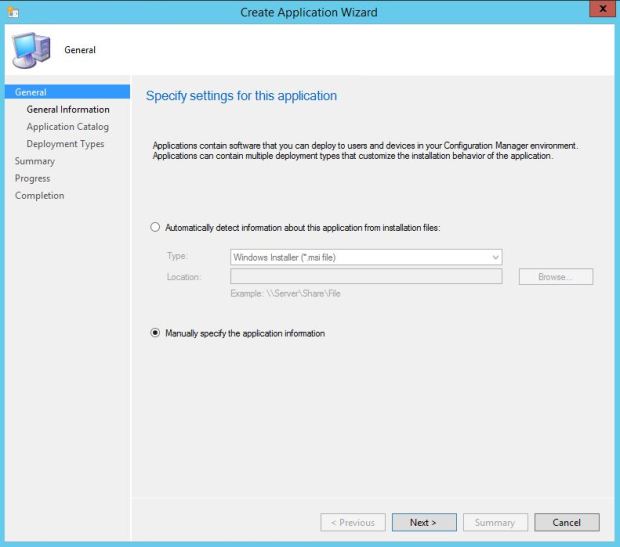
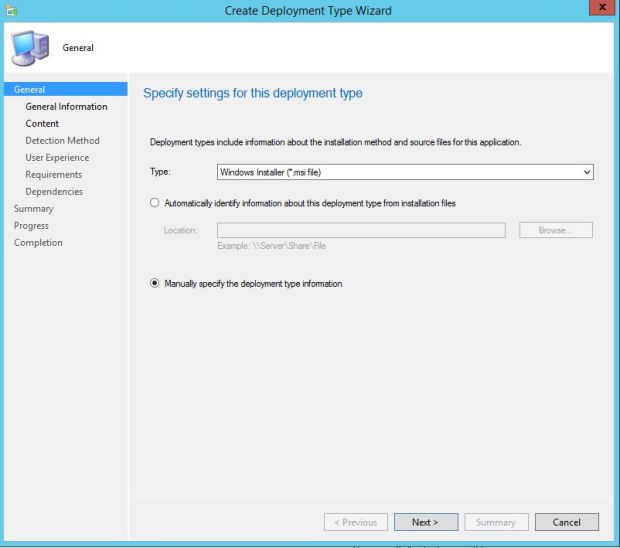
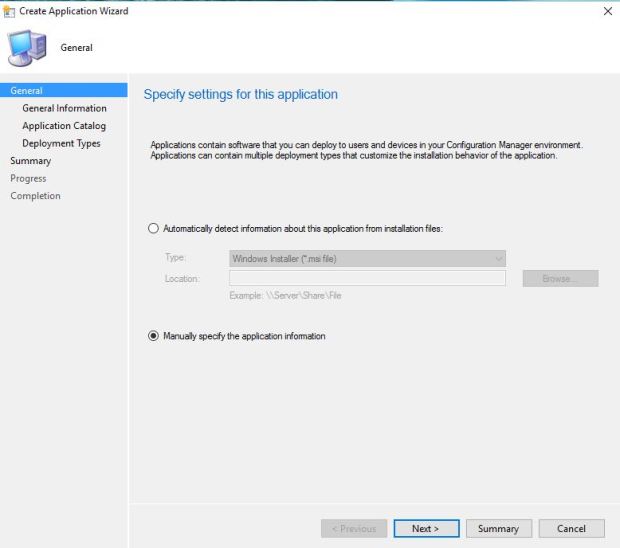
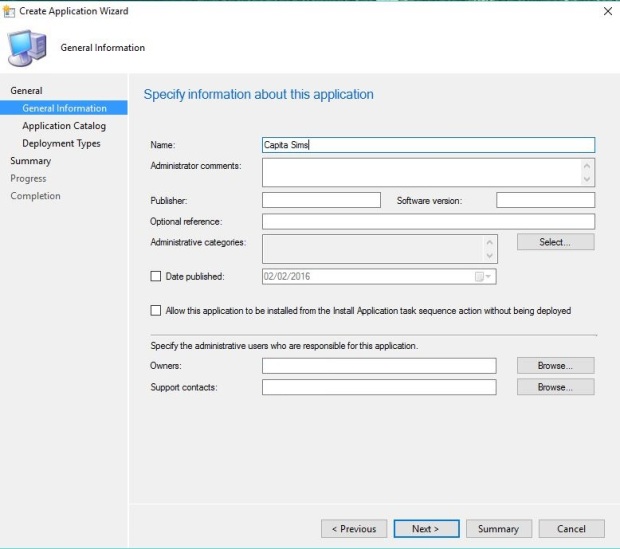
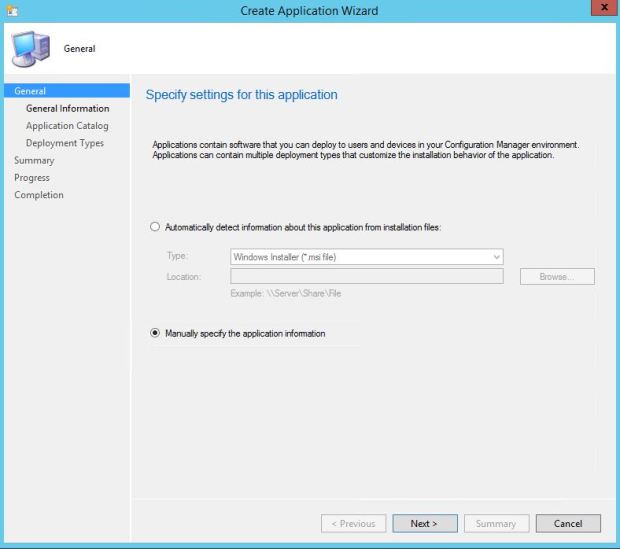
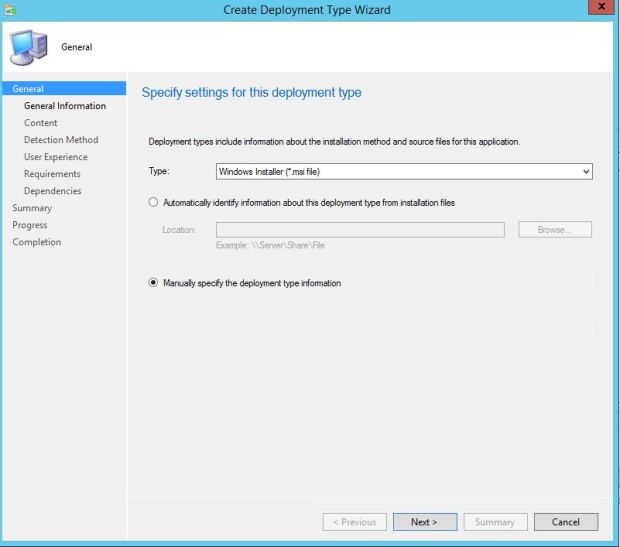
Select create application and then select manually specify the application information

8.JPG

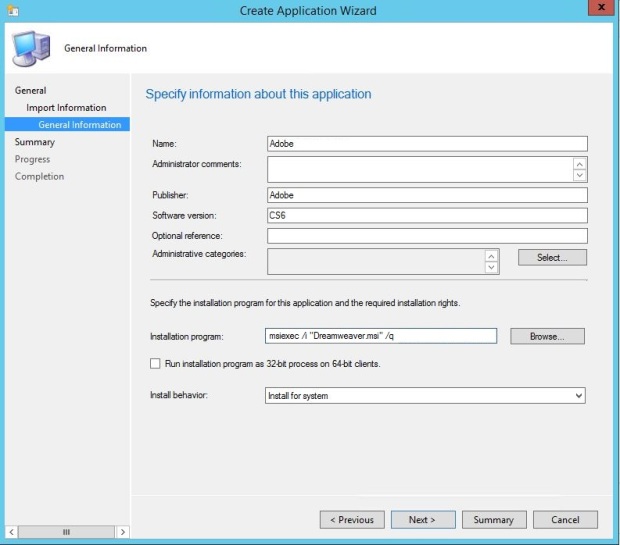
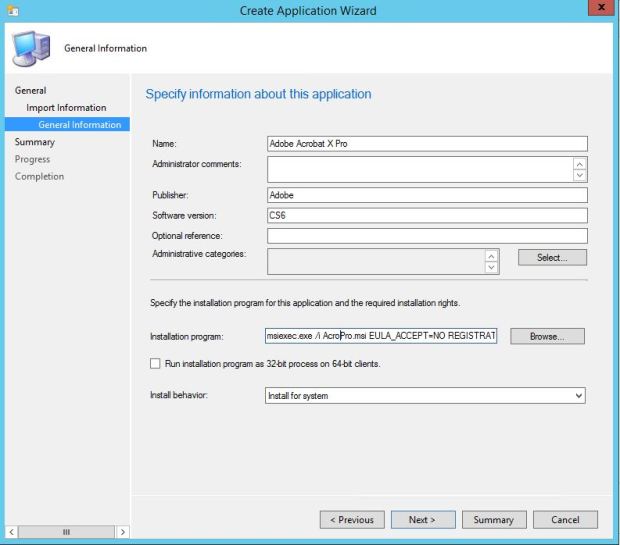
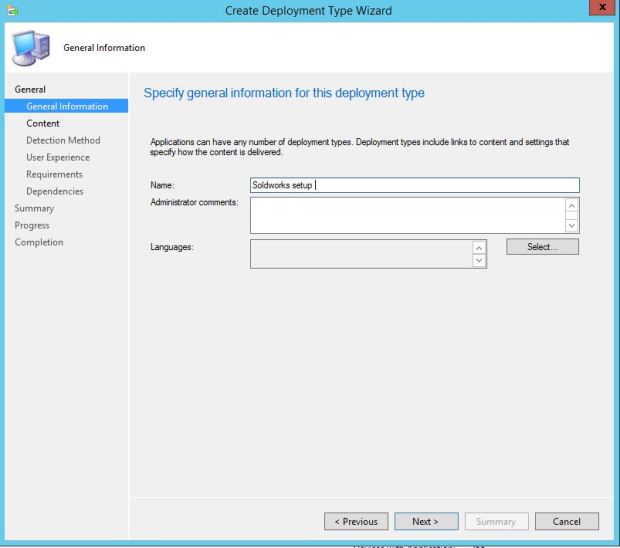
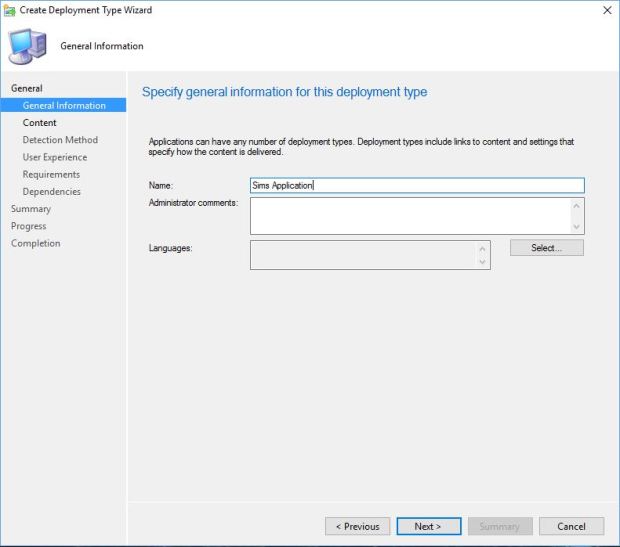
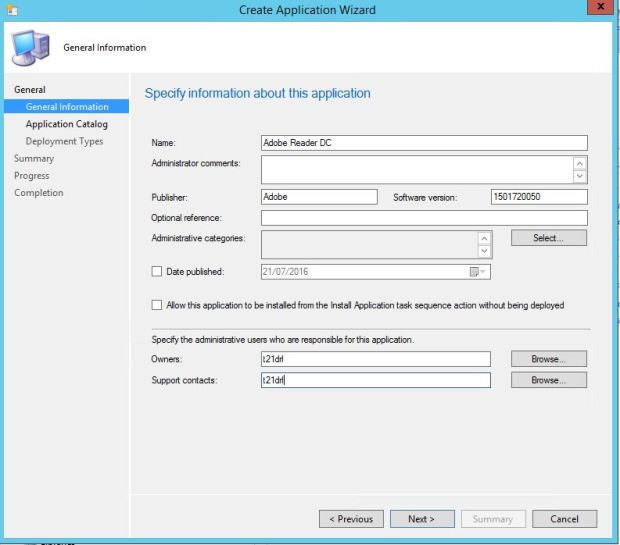
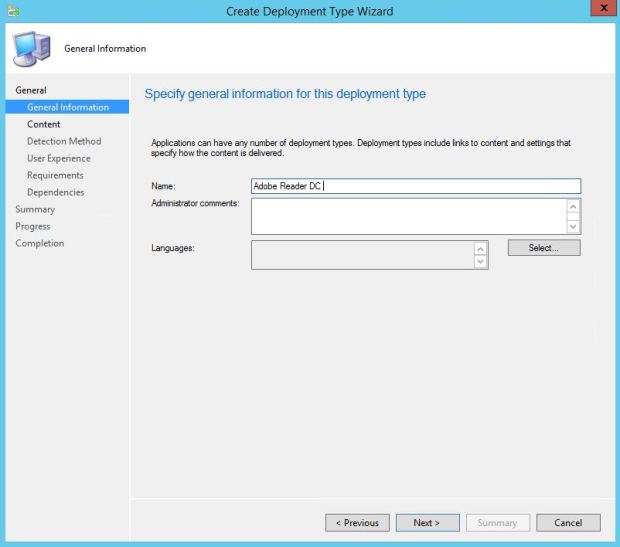
Next name the application and other relevant information

9

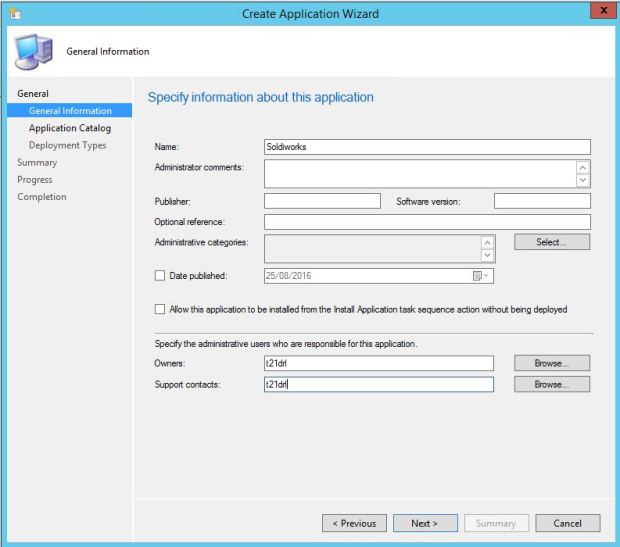
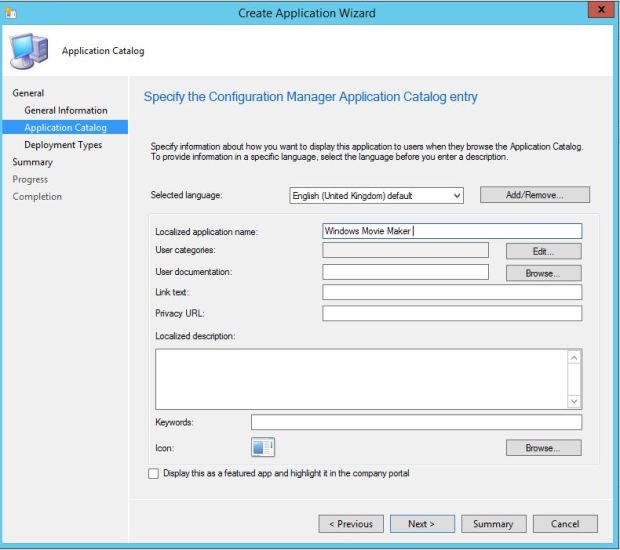
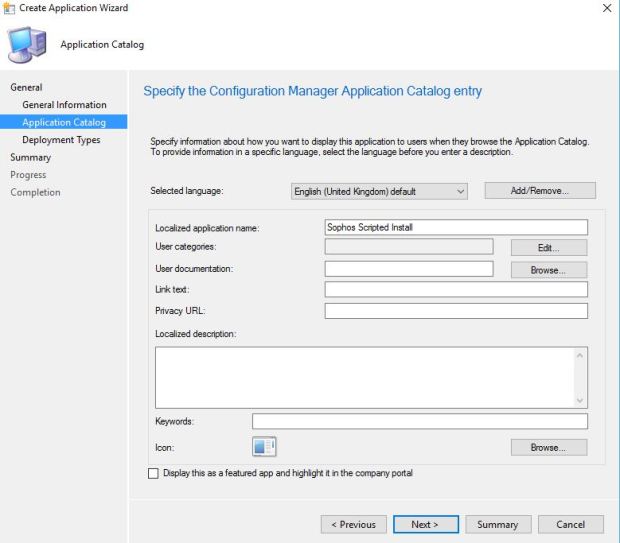
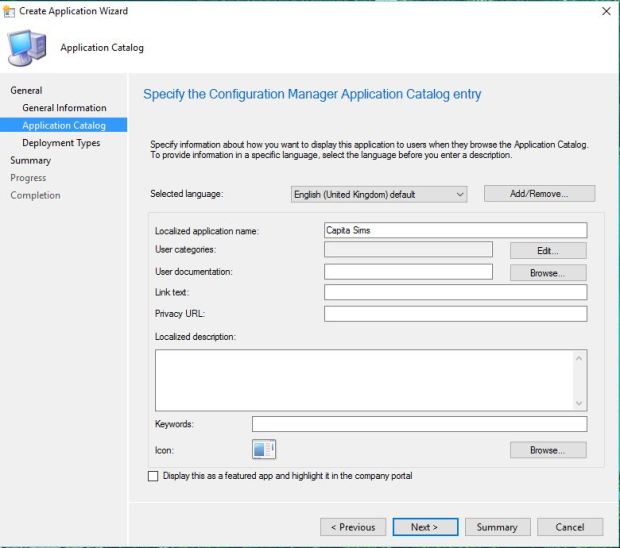
Add any information you see fit

10

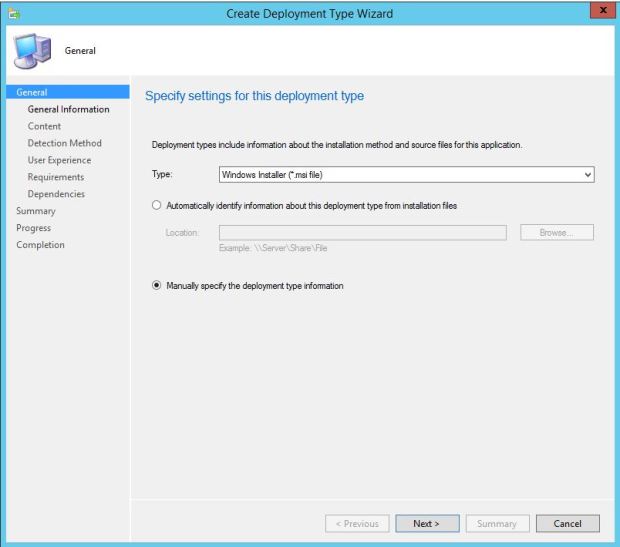
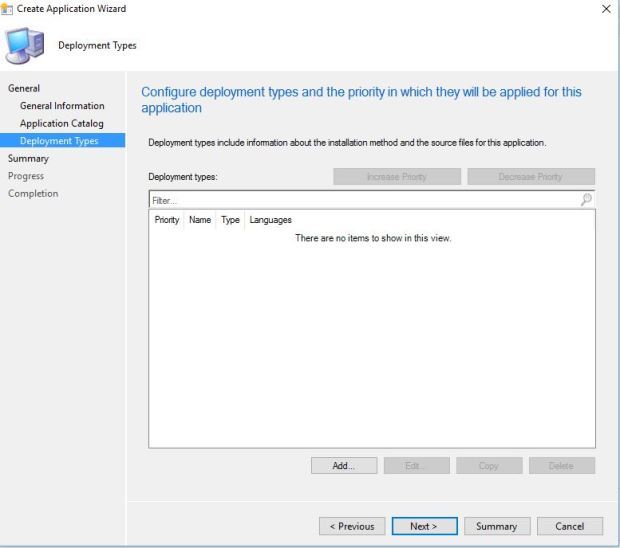
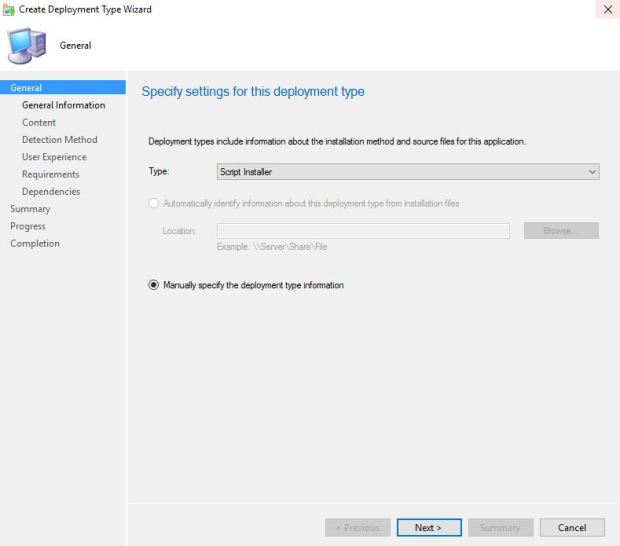
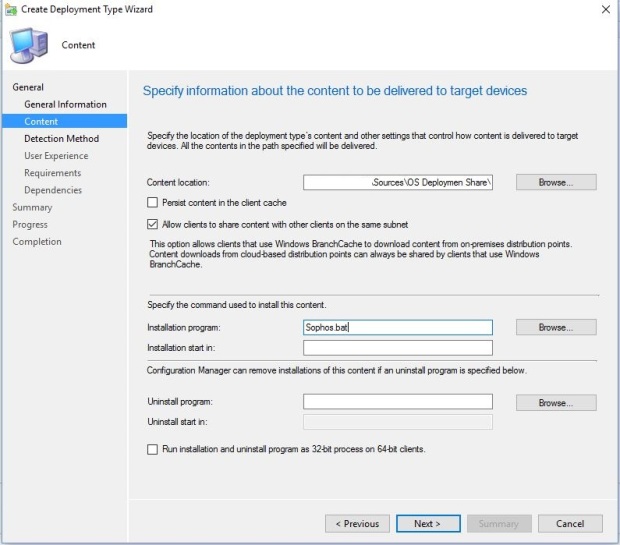
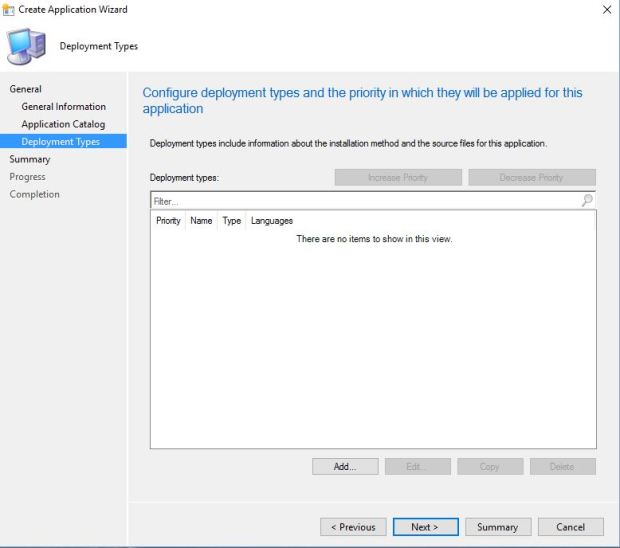
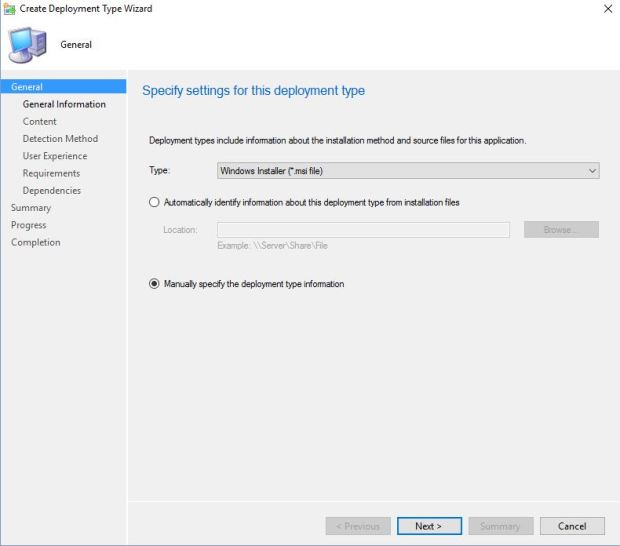
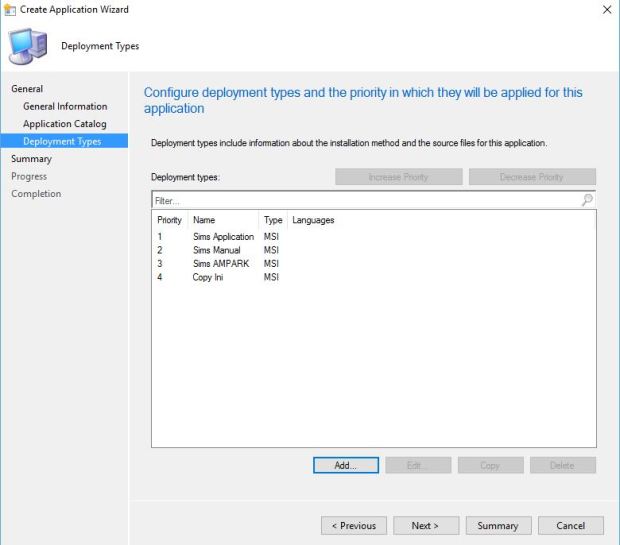
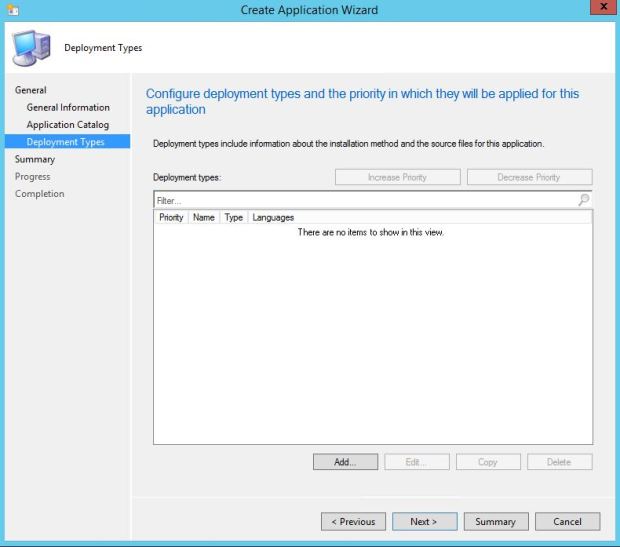
Manually specify the deployment information

11

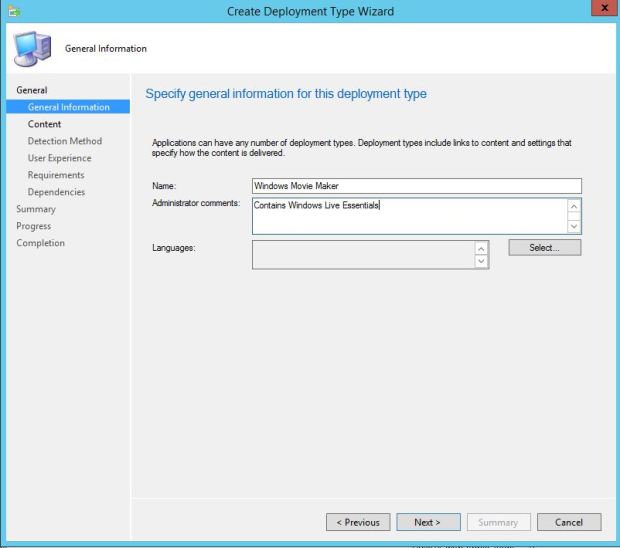
Name this solidworks setup

12.JPG

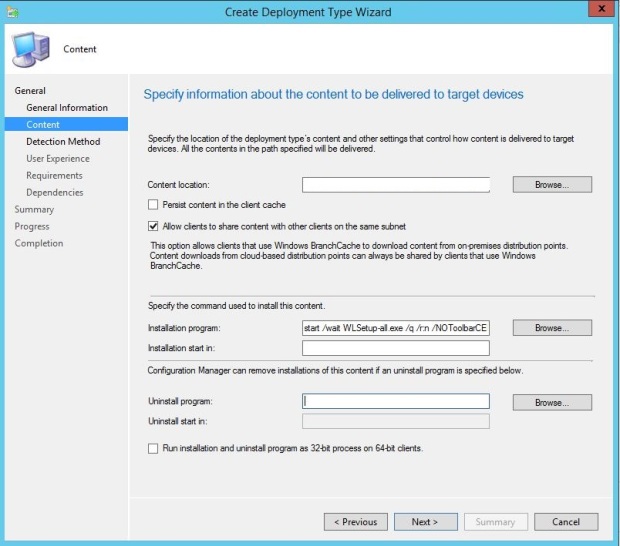
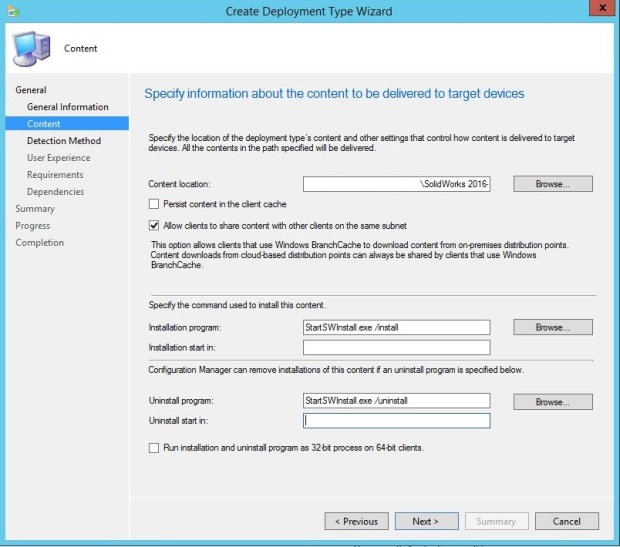
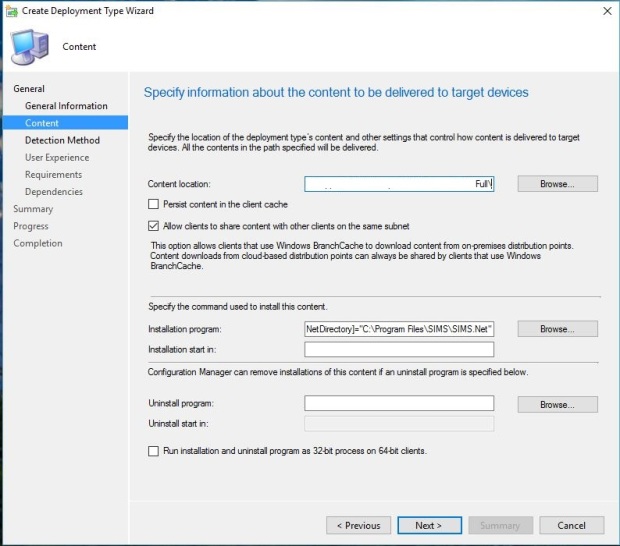
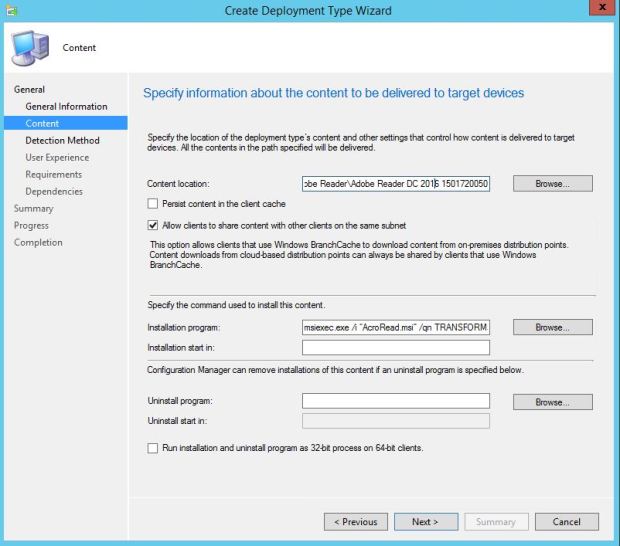
For the install program you can customize this as you wish

For example StartSWInstall.exe /install

/install Installs the administrative image on client machines

/uninstall Uninstalls the software from client machines

/removedata Available for uninstall only. Removes SolidWorks data files and folders during uninstall.

/removeregistry Available for uninstall only. Removes SolidWorks registry entries during uninstall.

/now Starts the install or uninstall immediately. The 5 minute warning dialog box does not appear

/showuiDisplays a progress window for the SolidWorks Installation Manager. Otherwise the SolidWorks Installation Manager is hidden from the user.

13.JPG

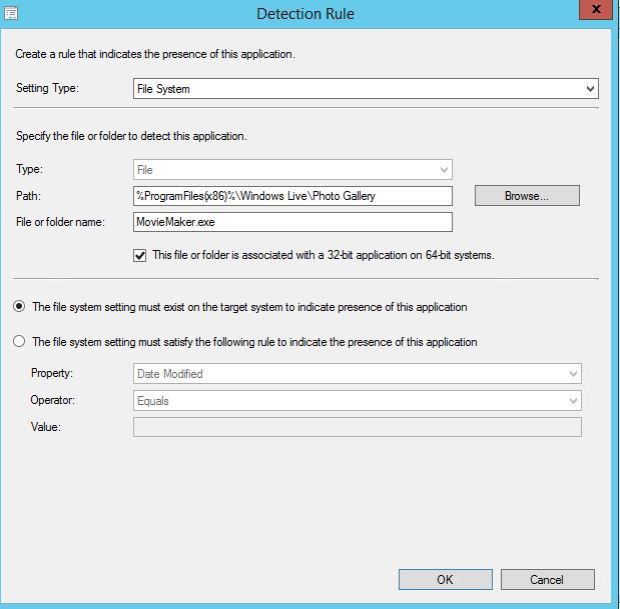
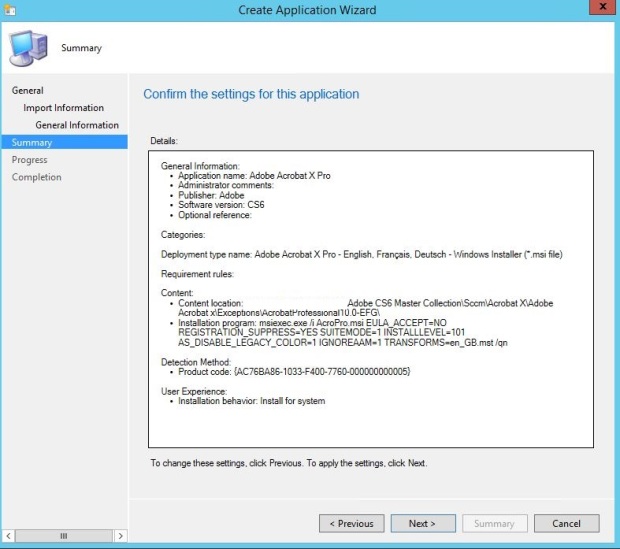
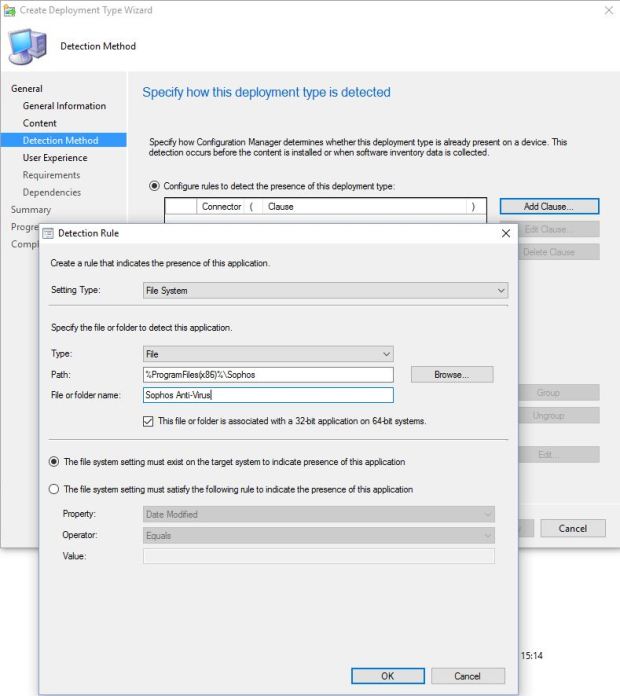
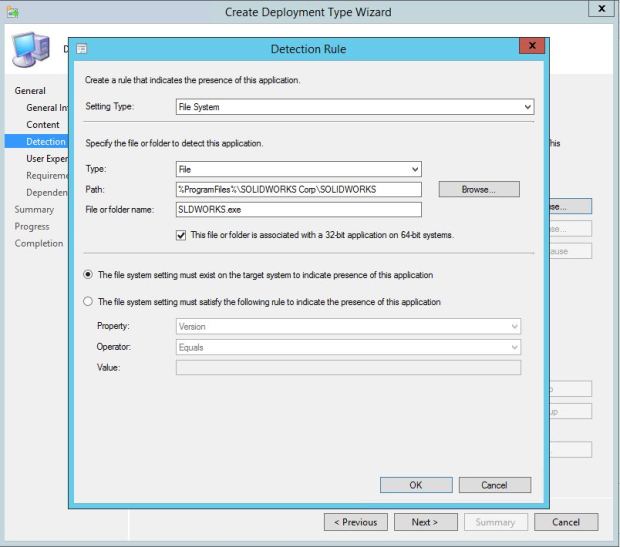
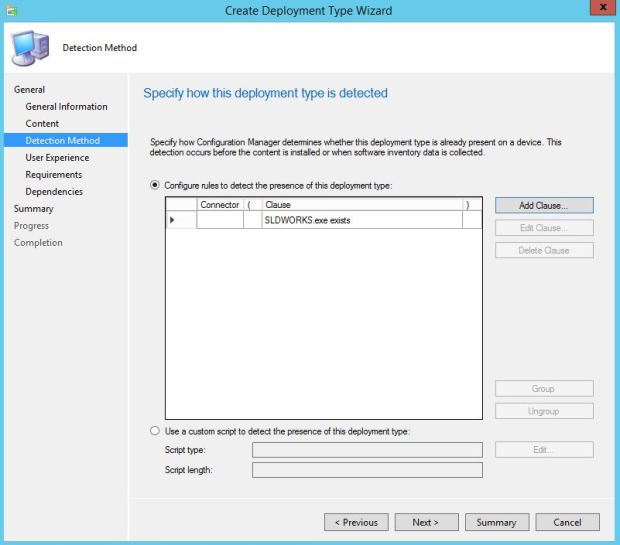
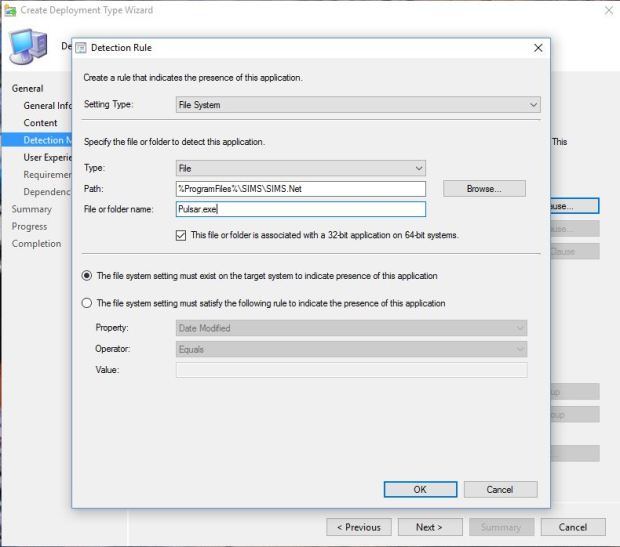
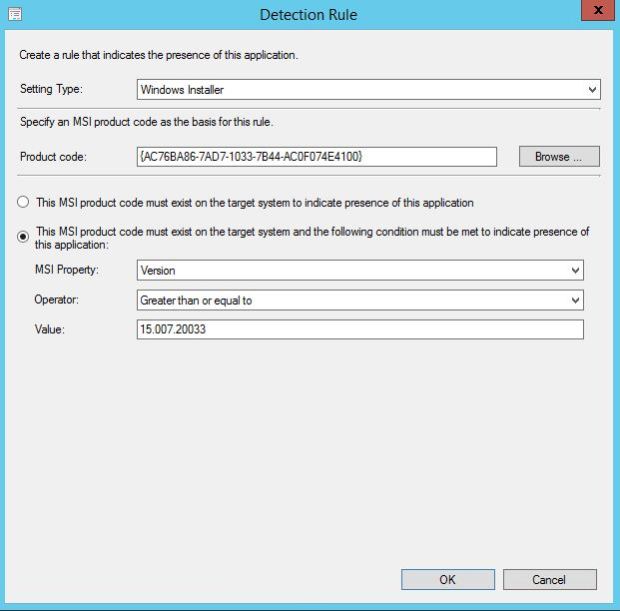
For the detection method I have use file type

The file I use is the SLDWORKS.exe and as an option I also use version number

14

15.JPG

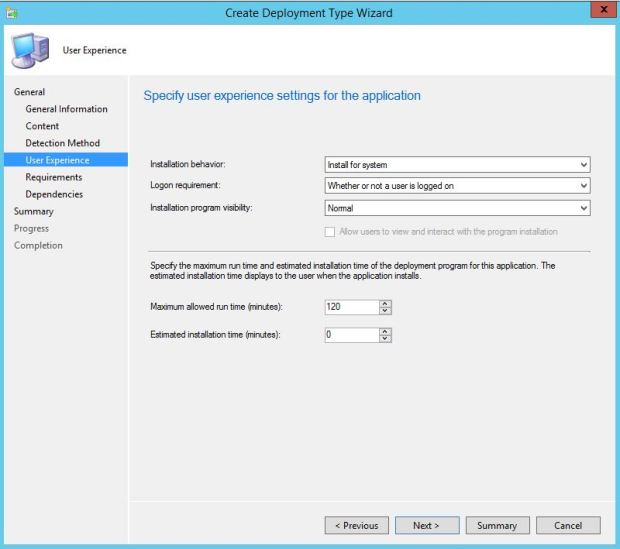
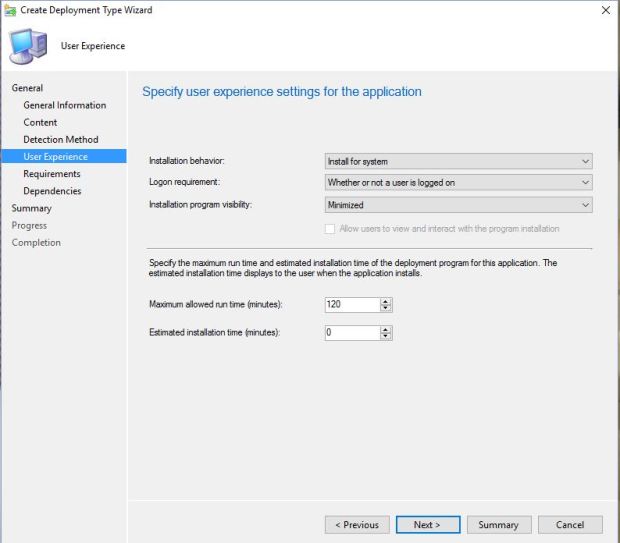
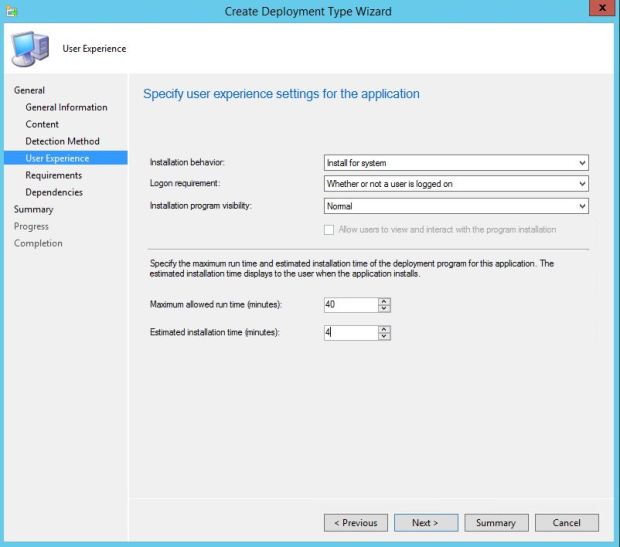
Next install for system and minimized, as this is a fairly large application I have put 60 minutes as the maximum run time

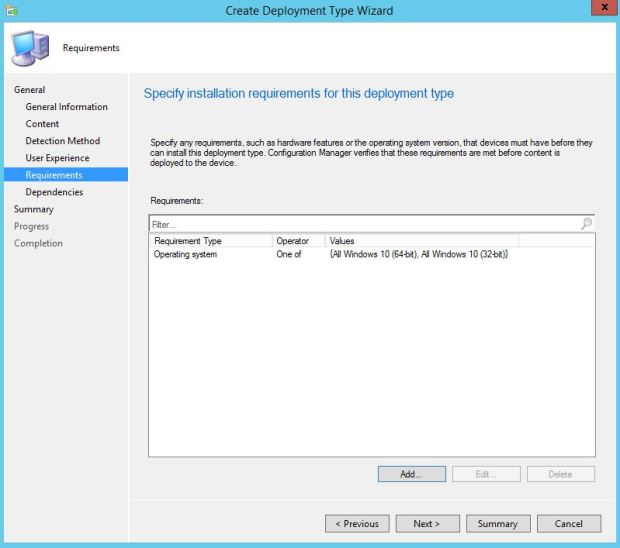
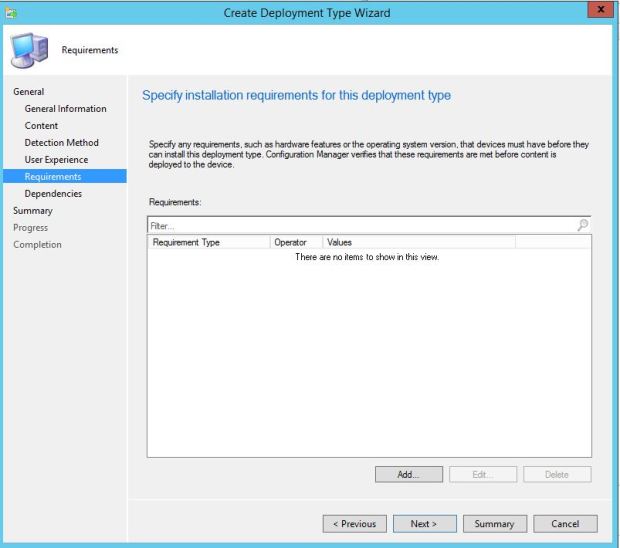
If you have any requirements you can them now

16

Now dependencies depend on what extras you selected in your admin image, the admin image will add most dependencies but sql for example isn’t add if you select the full electrical module so I would advise testing before getting to this stage

17

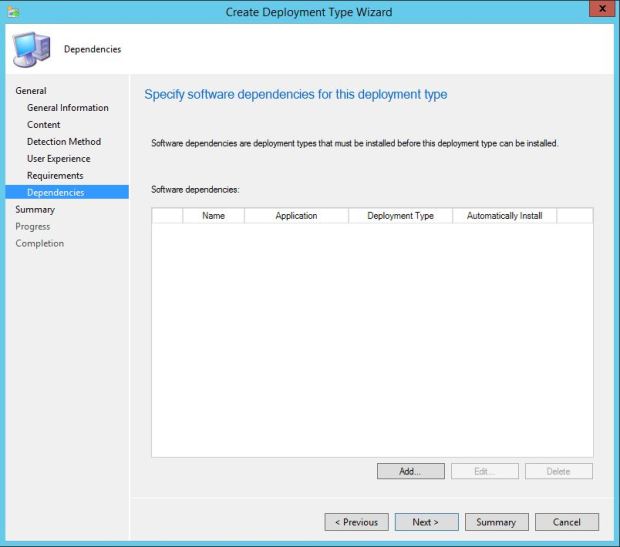
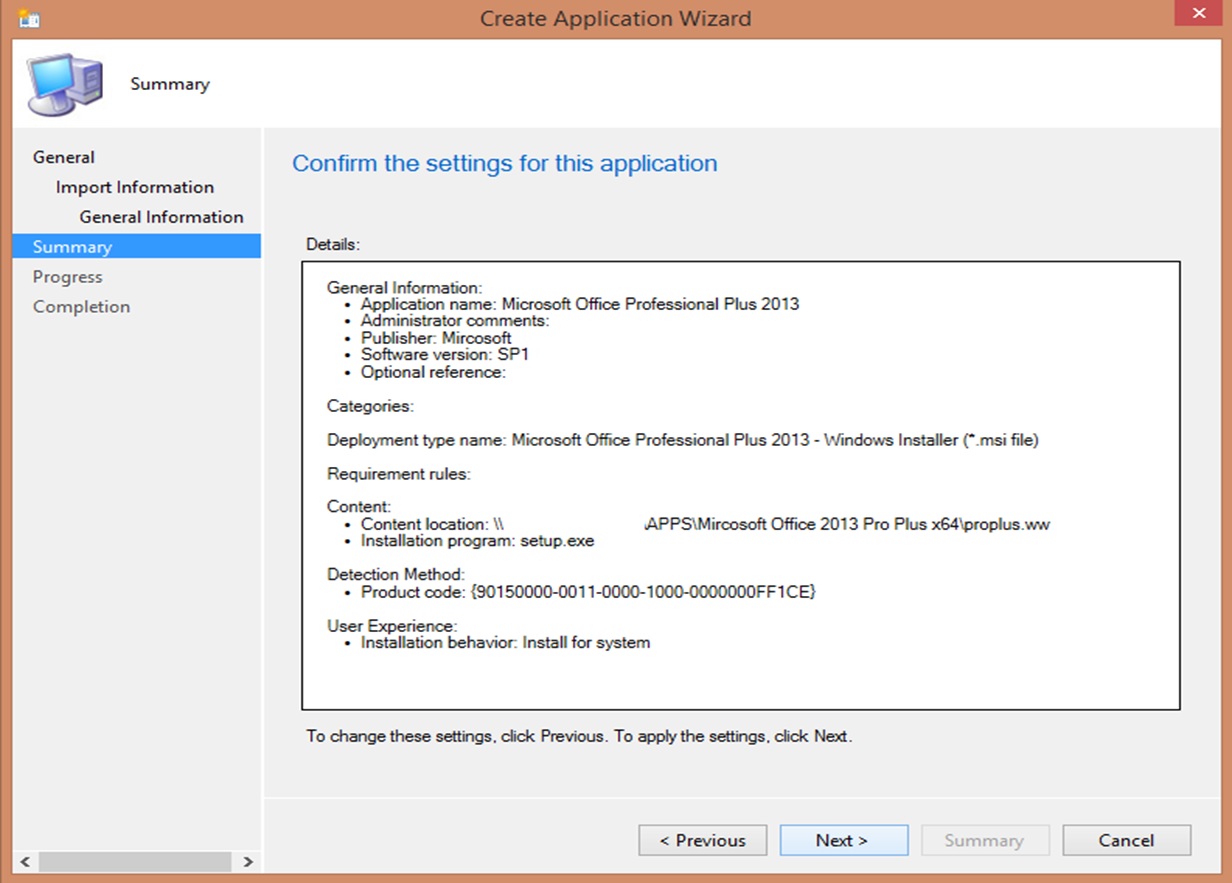
Select next until the wizard has finished and that’s it you’re ready to deploy


Capita Sims

In order to install capital Sims in one application you first need to make sure your permissions on your sims shares are setup correctly and that Configmgr has read access

I will be creating one big application with multiple installs, some people may prefer to create individual applications its purely down to your environment

Firstly, right click create application and then Manually specify the application information

1

Next give the application a name

2

Add an icon for the application catalog if you wish, then select next

3

Now select Add

4

select Manually specify the application information

5

Name the application (this is one of the first individual applications install)

6

Now choose the location on your sims share where you install are located

7

The installation program for each application is listed below, the sims information may be different on your sims sever but most use the S:\sims location. I have also created an MSI that copies the connect.ini file to the C:\Program Files location. You could use an xcopy script for example or create an msi like I have done.

Sims Applcation setup

SIMSApplicationSetup.exe /S {QuietMode} [SIMSDirectory]=”S:\SIMS” [SIMSDotNetDirectory]=”C:\Program Files\SIMS\SIMS.Net”

Sims Manual setup

SIMSManualSetup.exe /S {QuietMode} [SIMSDirectory]=”S:\SIMS\” [SIMSDotNetDirectory]=”C:\Program Files\SIMS\SIMS.Net”

Sims AMPARK

SIMSAMPARKSetup.exe /S {QuietMode} [SIMSDirectory]=”S:\SIMS” [SIMSDotNetDirectory]=”C:\Program Files\SIMS\SIMS.Net”

SOLUS 3 Agent

AgentInstaller.js “agent_installer.log” “net.tcp://localhost:52966” “net.tcp://your-sims-server:52965” “Solus3.Keys.DeploymentService.Public.xml” “SOLUS3AgentInstaller_x86.msi” “SOLUS3AgentInstaller_x64.msi”

There is an order that these need to be installed in as you can see below

Capture

I have used the file system detection method for each program which is listed below, If you wish to run reinstallS after a sims update for example  you can use the date modified option to trigger this.

PATH %ProgramFiles%\SIMS\SIMS.Net

Sims Applcation setup FILE Pulsar.exe

Sims Manual  FILE SIMSLoad.ini

Sims AMPARK FILE SIMSAMPARKSetup.txt

PATH %Program Files%\Solus3\AgentService

Solus 3 FILE Heartbeat.config

9

Install for system, whether or not a user is logged on and change he maximum allow run time to 30 minutes

11

There are no requirements for the first install after that you can set the previous program as a requirement and so on until you have created installs for each application

Select next untill the wizard has finished and distribute the application then deploy as you wish

18


Deploying Adobe Reader DC

Adobe reader is one of the mostly commonly deployed applications in an enterprise, in this case I will show you how to deploy the free version Adobe DC. Before we start you will need to download the following

Adobe reader

http://www.adobe.com/support/downloads/product.jsp?platform=windows&product=10

Adobe customization wizard

https://www.adobe.com/devnet-docs/acrobatetk/tools/Wizard/WizardDC/basics.html

now install the customization wizard and extract the adobe reader .exe , I personally use winrar.

1


Open the customization wizard and start to configure the installation, this will very must depend on your environment and what you want the end user to do.

I firstly suppress the EULA option

2

Suppress the reboot, silent installation and make the PDF reader the default reader.

You may also want to remove any other versions of Adobe reader as part of the install

3.JPG

Remove the desktop shortcut if you wish

4

Prevent the end user from configuring webmail profile

5

Now I don’t disable product updates even though I use SCUP however I do enable & install silently

You will want to disable upsell and services interaction 9/10

6

now the configuration is complete you will need to go to transform and then generate transform.

7.jpg

Next copy the folder over to the appropriate files share for your ConFigMgr

Select create application and then Manually specify application

8

Next name the application and fill in the relevant information

9.JPG

Now select add

10

Manually specify the deployment type information

11

Fill in the relevant information

12.JPG

Now we need to specify the source path to the location we copied the extracted Adobe reader exe and MST.

The installation program will be msiexec.exe /i “AcroRead.msi” /qn TRANSFORMS=AcroRead.mst (the mst name will be what you named it during the transform )

13

Now for the detection rule we are going to use the windows installer, if you select browse and then location the AcroRead.msi you will get the product code and version filled in automatically. I have also changed the operator to greater than or equal to as my SCUP may update this later on and I want to avoid the deployment uninstalling and then installing the older version in the months to come.

14

Install for system and whether or not a user is logged on

15

Then select close and deploy as you wish

16.JPG

Deploy Adobe CS6

To Deploy adobe CS6 firstly extract the iso if you have one and then download the adobe AAMEE application and install.

http://www.adobe.com/devnet/creativesuite/enterprisedeployment.html

next open AAMEE and select install Package

1+

In my environment I wanted to create a install for each product rather than one big 20gb plus application

Point the installation folder to the extracted ISO and the name the package

2

Next type in your serial number

3

Sign in with your Adobe ID

4

5

Select Dreamweaver

6.5

You can then select what updates you want to include in the package, these are download directly from Adobe

6

Disable End User License Agreement and Improvement Program. The other option depends on your environment so select the appropriate options.

7

Once the build is complete open the folder and you should see something similar to this

7.5

Now copy the folder over to a location use for your source files

In configmgr select create application and then name the application appropriately

Select the msi you just created

10.JPG

Next change the installation program to this

msiexec /i “Dreamweaver.msi” /q

Note Dreamweaver is the name of my MSI this is the only part that needs changing

11.JPG

Select next then deploy application as you see fit

Deploying Windows Movie maker 12

Firstly, you need to download windows essentials from this link below

https://support.microsoft.com/en-gb/help/17779

You will need to have .net 3.5 installed, in my case I already have this installed but it’s something to be aware of

Once you’ve moved the Windows essentials to a share create a new application

Then select Manually specify the application information

1

Next name the application appropriately

2

You can then add any additional information and or icon

3

Next select Add

4

Select Manually specify the deployment type information

5

Again name appropriately

6.JPG

locate correct share location and replace the the installation program with this command thanks to pcloadletter.co.uk

wlsetup-all.exe /q /NoLaunch /NoToolbarCEIP /NoHomepage /NoSearch /AppSelect:Writer,MovieMaker

7.JPG

now we need to create a detection rule, Ive used the file system but you can just as easily use a registry rule or any other method

9.1

Install for system

9.JPG

I have set a requirement for windows 10, this is optional

10

I have set the dependency for .net 3.5 this is optional

11.JPG

Select next and then distribute as you wish

There are some registry changes that can be made to suppress any EULA agreements and Microsoft account sign-in, I will do these at a later date.

Adobe Acrobat Reader X

To Deploy adobe acrobat reader X firstly extract the ISO and then download the adobe AAMEE application and install. Please see the link below.

http://www.adobe.com/devnet/creativesuite/enterprisedeployment.html

next open AAMEE and select install Package

1.JPG

Point the installation folder to the extracted ISO and the name the package

2

Next type in your serial number

3

Sign in with your Adobe ID

5.JPG

Select Acrobat X Pro

6

Disable End User License Agreement and Improvement Program. The other option depends on your environment so select the appropriate options

7

Once the build is complete open the new folder and navigate to the exceptions folder and you should see something similar to this

89

Now copy the folder over to a location you use for your source files

In configmgr select create application and then name the application

Select the msi

10

Next change the installation program to this

11

msiexec.exe /i “AcroPro.msi” EULA_ACCEPT=NO REGISTRATION_SUPPRESS=YES SUITEMODE=1 INSTALLLEVEL=101 AS_DISABLE_LEGACY_COLOR=1 IGNOREAAM=1 TRANSFORMS=en_GB.mst /qn

The “Acropro.msi” will be whatever you named your msi when we create the serialized install and the en_GB will depend on the language you’ve have chosen to use

12.JPG

Select next then deploy application as you see fit.

Sophos AV OSD Install

Installing Sophos as and application using the setup exe is relatively easy when the operating system is installed however during a OSD deployment you may find it fails. This is normally due to the update part of the install not completing and therefore the installation doesn’t complete.

If you want to create an application or package you can use the command below which will work on a system already running Windows.

change the domain\sophos-service and Password to your Sophos details.

setup.exe -s -mng yes -user domain\sophos-service -pwd Password

The solution with regards to installing during the OSD is to create a scripted install which can also be used for both OSD and regular installs.

You will need to change the red text below and save as a bat file, once tested you’re ready to add it to SCCM. You can play with the time out amount but I found in my environment 500 was enough to install updates.

@ECHO OFF

REM — Check for an existing installation of Sophos AutoUpdate on 32-bit (the ‘Sophos AutoUpdate Service’ process)

IF EXIST “C:\Program Files\Sophos\AutoUpdate\ALsvc.exe” goto _End

REM — Check for an existing installation of Sophos AutoUpdate on 64-bit (the ‘Sophos AutoUpdate Service’ process)

IF EXIST “C:\Program Files (x86)\Sophos\AutoUpdate\ALSVC.exe” goto _End

REM — Check for an existing installation of Sophos Anti-Virus on 2003/XP (the SAV adapter config file)

IF EXIST “C:\Documents and Settings\All Users\Application Data\Sophos\Remote Management System\3\Agent\AdapterStorage\SAV\SAVAdapterConfig” goto _End

REM — Check for an existing installation of Sophos Anti-Virus on Vista+ (the SAV adapter config file)

IF EXIST “C:\ProgramData\Sophos\Remote Management System\3\Agent\AdapterStorage\SAV\SAVAdapterConfig” goto _End

REM — Deploy to Windows 2000/XP/2003/Vista/Windows7/2008/2008-R2

\\ Your Sophos sever\SophosUpdate\CIDs\S000\SAVSCFXP\Setup.exe -updp “\\Your sophos server \SophosUpdate\CIDs\S000\SAVSCFXP” –user domain\sophos-service -pwd Password -mng yes

TIMEOUT /T 500

REM — End of the script

:_End


For the detection method I used the Sophos AV exe located in Program Files

1

2

3

4

5

6

7


Application Deployment: MS Office 2013

In order to install office 2013 you first need some prerequisite installed which can be found on the Microsoft website (https://technet.microsoft.com/en-us/library/ee624351.aspx?f=255&MSPPError=-2147217396) , most of which will just be windows updates. If you wish to install Lync 2013 you will need to use the version before SP1 and manually download the SP1 or the latest service pack and add it to the updates folder.

Copy he contents of the Office 2013 ISO to a network location where you store you SCCM applications, then run he Mircosoft Office Customization tool with his command \\networklocation \Mircosoft Office 2013 Pro Plus x64\setup.exe /admin

You should see a screen that looks something like this.

1

Select create a new setup customization file for the following product

2

Select Install location and organization name, in the text box provide the Organization Name

3

Click on Modify Setup properties and select add and type the following under Name SETUP_REBOOT and under value type Never.

4

Select Modify user settings under the features tab then Microsoft Office 2013>Privacy>Trust centre and enable disable opt-in wizard on first run.

5

Next under set feature installation states select the parts of office you want and for SkyDrive and or Lync then select installed on first use

6

Next to you need save the MSP in the updates folder within the office installation folder

7

Create a new application in SCCM and select proplusrww.msi and click next

8

If you get a successful import select next

9

Fill in the relevant information and change the installation program to setup.exe then click next

10

Again if you get a successfully completed message select next

11

Select close if you get the message saying the wizard has completed successfully

12

Under deployment types select properties

13

Next you need to navigate Content and remove the proplusww.msi

14

Now select Requirements and change category to Device then condition Operating system and rule type Value and select the operating system you will be using Office 2013 on.

Once this is all setup just do the usual deploy to distribution points and make available / required for the collection you want. If you want to make any changes to the MST you can just update content.